Ok so here is to hoping my blog has as much affect on the weather as it did back in late January. Back then we were doing snow dances and making all things winter in the hope of drawing snowfall from the sky; my kids desperate to test run their new sleds from Santa.
Someone should have shouted 'NOOOO'.
Since those fatal words were written we have had so much snow and old man winter is refusing to let go with every ounce of his being. So now here you find me seeking crocus and daffodils as we head towards Easter with snow still on the ground.
And in that mindset we set about making these awesomely colorful spring chicks. We made lots, some have had their own houses built while others simply get found hanging out around the house. Either way they are cute and colorful and worth a share.
These little guys were the brain child of my little guys. Hubby had taken my girls to a gymnastics meet (win for me because those things go on SO long) and I was left with Buba and D. They wanted to make a spring decoration and while delving through my craft supplies they came across the styrofoam balls. After flinging them at each others heads I managed to redirect them to the task at hand and we collected the rest of what we needed for some little chicks.
You will need:
Styrofoam ball
Yellow paint
Googley eyes
Glue
Orange pipe cleaners
wooden skewer or craft stick for younger children
Step 1
Take the styrofoam ball and push the skewer/stick into the bottom of them. Then paint the ball yellow. Holding the ball on a stick makes it easier to paint without touching it.
Step 2
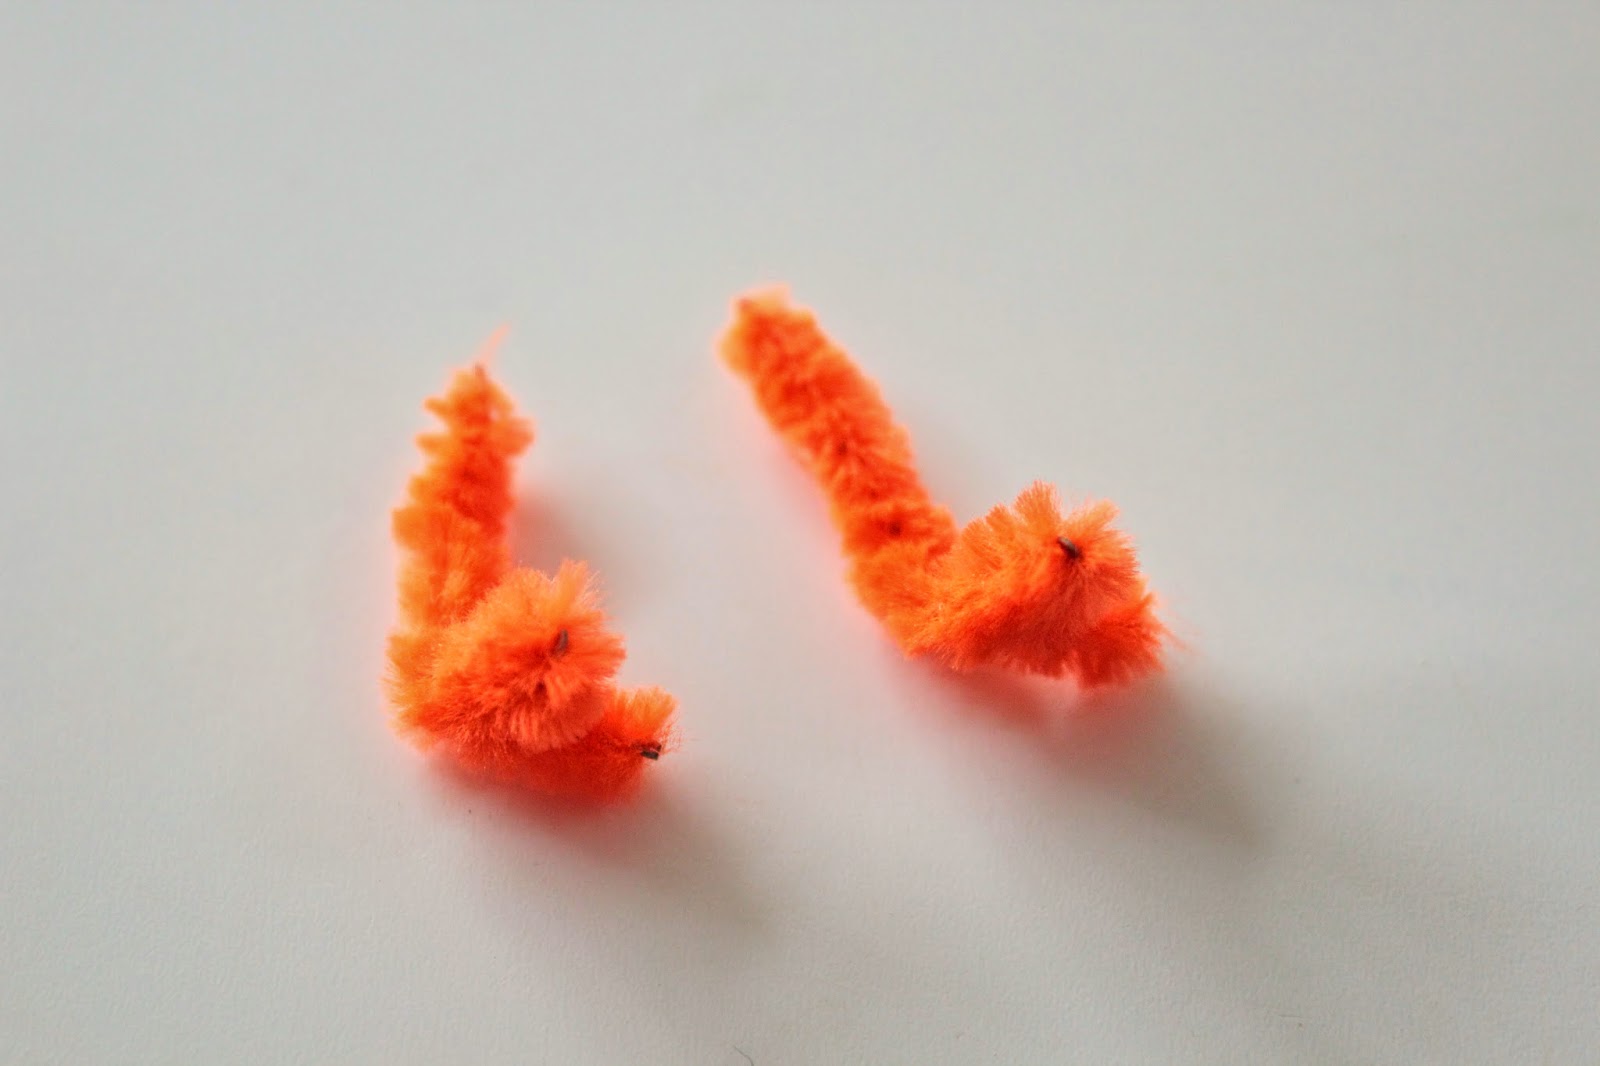
Glue on 2 googley eyes. Take the pipe cleaner and trim to shorter lengths and bend orange feet and a small beak for your chick. Push them into the styrofoam ball.
Step 3
Choose a bright feather and glue a tail onto the back of your chick.
Step 4
Your chick is now ready to hang out in a bunch of flowers.
Or if you want to make a home for your little chick, we tried two different ways.
The first was the way my boys did it. We wrapped a box from the recycling bin in bright paper and then cut a hole in it big enough to allow the chick to 'fly' in and perch.
The second way was done at Blue Barn Camp by my 2nd graders. They cut a hole in the sheet of paper and simply stapled it into a tube shape. This fit perfectly on their little hands for the puppet to live in.
Either way were super bright and cheerful and will hopefully temp Spring from it's hiding place.


No comments:
Post a Comment