Tuesday, March 13, 2018

Cottontail Rabbit Painting


It is hard to believe Spring is right around the corner as I sit here in Connecticut with snow falling again - its March 12th!  At this rate my kids will be digging for their easter eggs in the snow. However, despite the freezing temperatures and bright white fluffy stuff falling all around me I know that Easter is just a couple of weeks away and this simple Bunny art makes a fun painting activity for your little one and leaves you with a wonderful piece of artwork to hang on the wall this Spring.


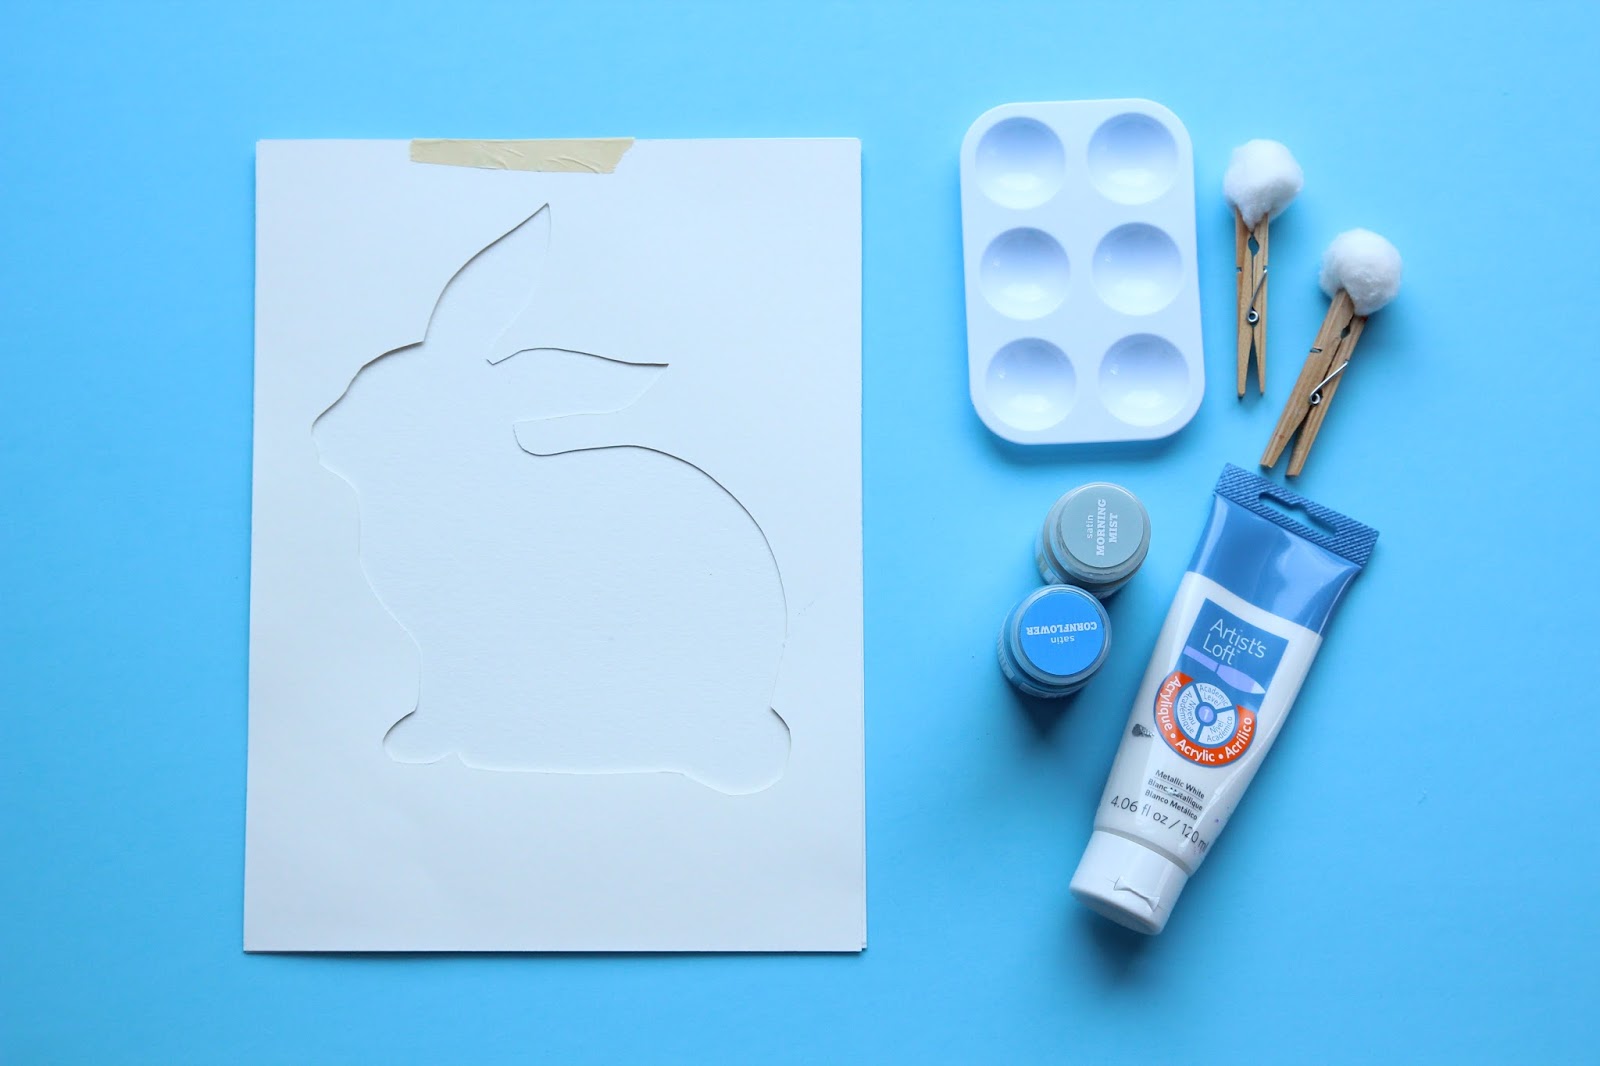
You will need:

A bunny stencil - we created this by printing off a print of a bunny online and tracing the outside edge.
Exacto knife
Mixed Media/watercolor paper
Paint 
Pegs
Cotton balls

Step 1

Have a grown up cut the bunny shape out of a piece of thick paper stock or card. We used an Exacto knife but scissors are great if you don't have a knife, just remember not to cut through from the outside of the paper.


Once you've cut the rabbit shape out of the paper tape it to the top of a piece of thick mixed media paper.


Step 2

Set out paint, I let each child choose three colors. I recommend you try to avoid mixing the three primary colors if you don't want a muddy bunny. For examples think using yellow/blue/green or pink/red/white or blue/grey/lilac.

Now instead of brushes take a cotton ball and peg and create a brush. For a bit of fun I told the children the cotton balls were rabbit tails (one little boy did look at me quite disturbed until I whispered we were just pretending in his ear lol).


Taking the cotton ball tell the children to hop like a bunny over the paper. Encourage them to fill the whole space with the three colors, its fine if they go over the edges the template will give you the rabbit when you lift it up.


Step 3

Once they are all done painting carefully lift off the stencil to reveal your bunny - wait for the ooh ahh the kids really love this moment and are always so delighted to see their finished rabbits.


If you want once the paint is dry glue a clean cotton ball to the rabbits tail.


These pictures are sure to delight both the Moms and kids. I'd like a couple framed myself to decorate my Dining room wall this Easter.


Welcome Spring!


Thursday, February 15, 2018

Chinese Dragon Mask


Are you all set to celebrate the Chinese New Year starting tomorrow? If like me you were all hearts up until yesterday you might be looking for a quick last minute activity to do with your kiddos and this one fits the bill perfectly. I've even included a FREE printable so all you have to do is hit print and then let your little one get coloring. So if you you'd like to get your hands on one of these fun dragon templates read on.


You will need:

Coloring pens / crayons or Kwik Stix
Colored tissue paper
Scissors
Colored paper to decorate with


Step 1

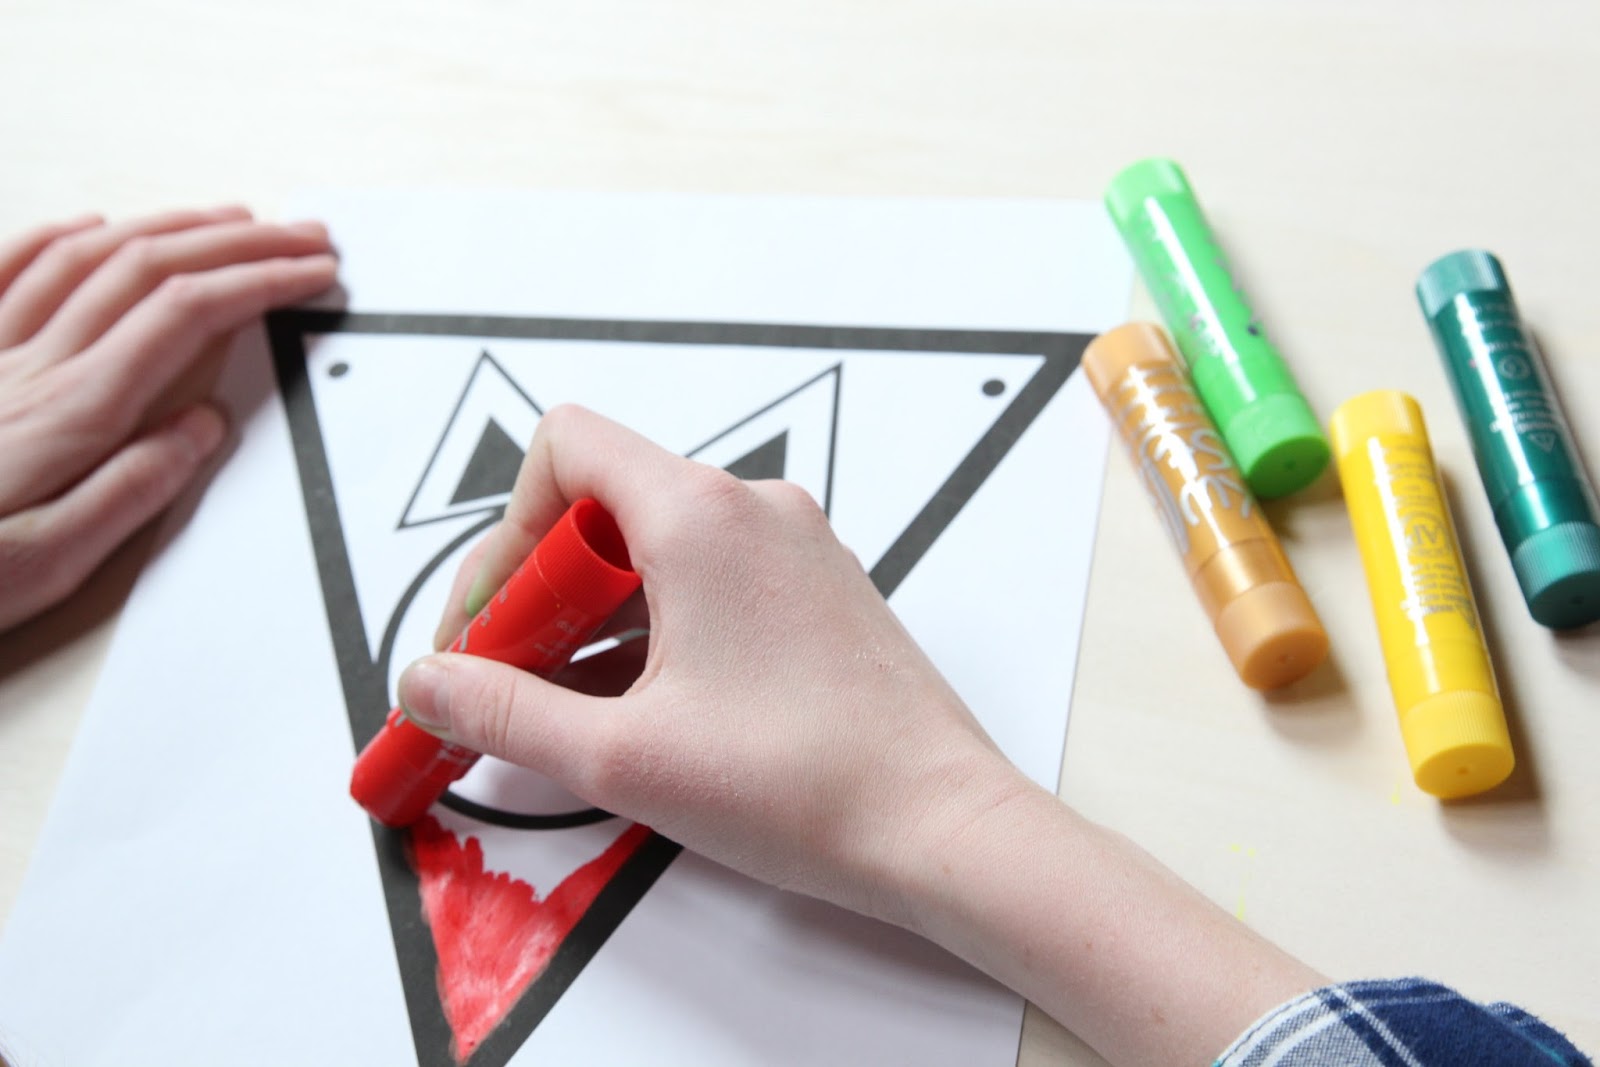
Have your child color the mask. We used a lot of red and gold traditional chinese new year colors plus some yellow and green dragon colors. Keep it bright and bold.


Step 2

Once you have colored your mask its time to make the fire. Take a few squares of colored tissue paper, red/yellow/orange and fold them together cutting the ends at an angle to make flames. Attach them to your mask with glue.


Step 3

If you'd like to decorate your dragon further why not cut scraps of colored paper to create spikes and scales. Or cut horns out of gold paper. Attach both things with glue and allow to dry.


Your dragon is complete! Nows the time to cut holes in it and attach string to create a mask. Or maybe make a whole collection of them and string them together as bunting!! Either way they make a great decoration to bring in the year of the dog!!


Thursday, January 18, 2018

Valentines Rosette


Do you ever wonder what to do with all the gorgeous art pieces your little one creates? Maybe you went to town one day with some fun process art time and now your faced with a whole lot of painted paper. Not to worry there is no need to trash those gorgeous colors today we are turning them into some pretty Valentines to give away - note preschool teachers these would also make an ace valentine for Mom if you want to make them with your kiddos. Want to find out what we are making? Read on...


You will need:

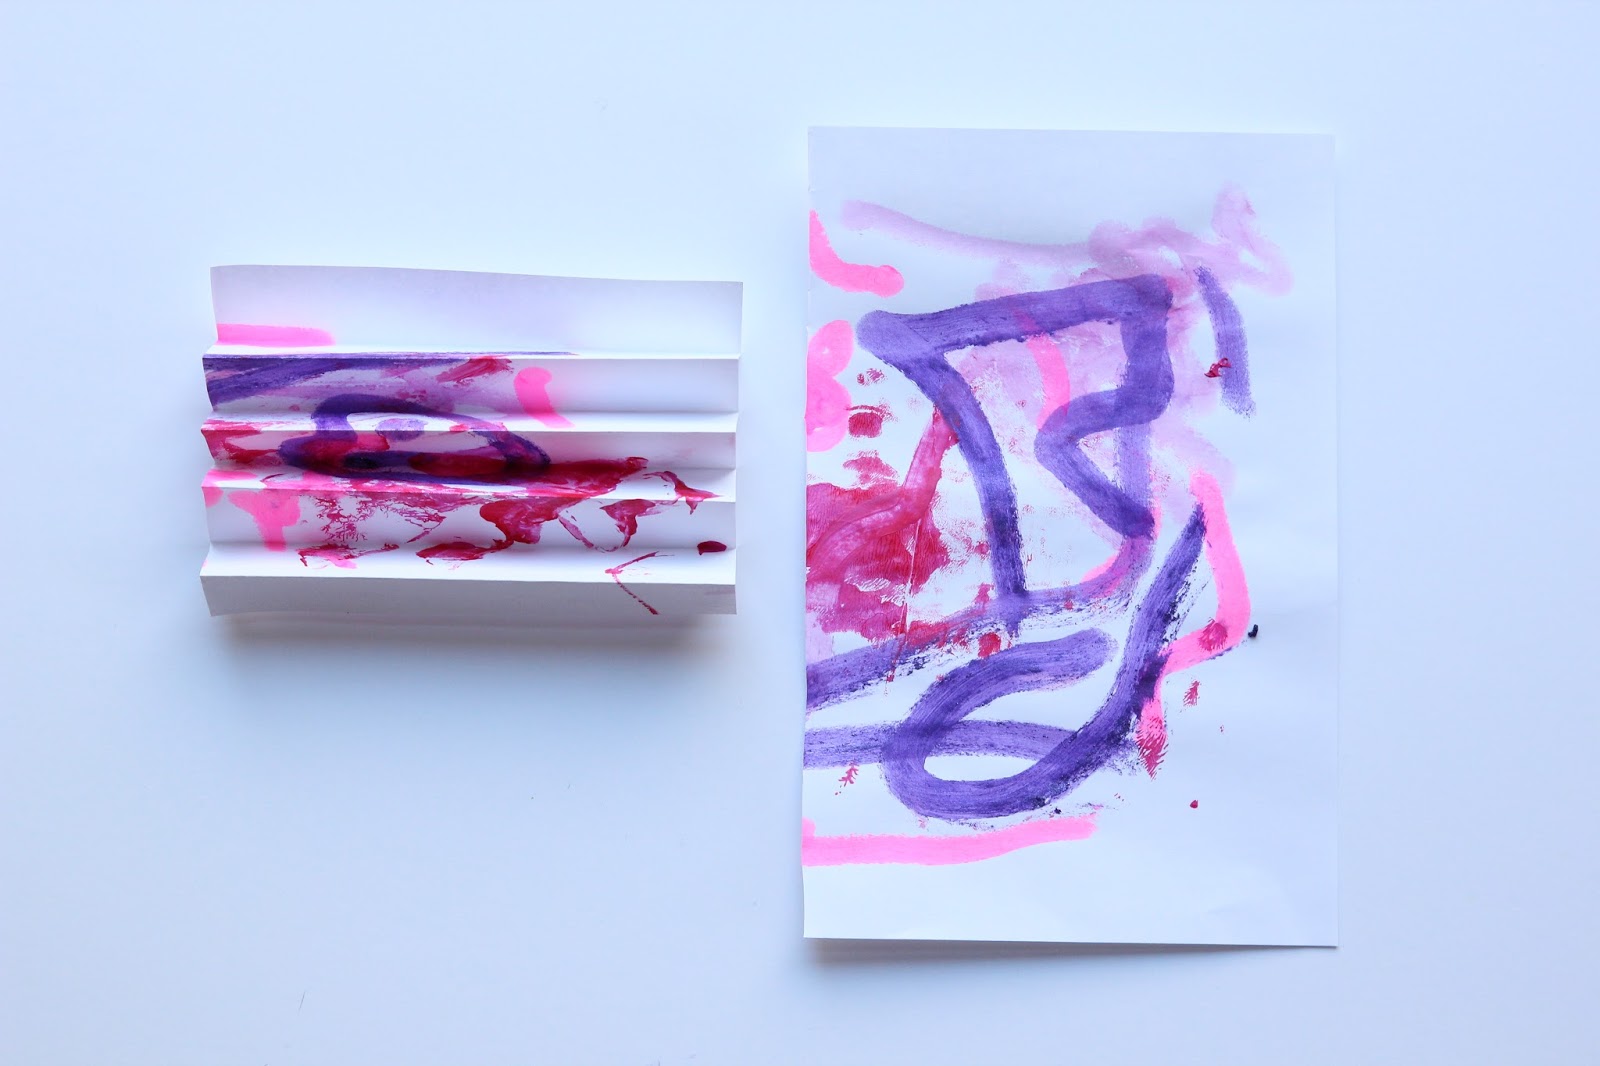
Your kids painted artwork
Some Valentine colored/patterned paper
Our printable center can be downloaded here - or make your own message 
Scissors
Glue


Step 1

Cut a piece of artwork paper in half, always remember to get a young artists permission first!


Fold the piece of paper back and forth concertina style. Repeat for the second piece.


Step 2

Take one of the concertina papers and fold in half. Glue the two sides that face each other together. Repeat this step with the second half and leave to dry.


Once the two halves are dry open them up to create a fan shape, now glue the two fans together along the straight side to create a wheel.


Step 3

Taking the colored/patterned paper cut a heart that will sit in the center of the rosette. Also cut two long rectangle shapes with a triangle removed from one ends it resembles a ribbon.


Step 4

Glue the heart to the front and center of the wheel.


Glue the ribbons to the back - make sure you have the ribbons hanging down when you turn it over.


Tape a safety pin to the back of the rosette so your recipient can wear it with pride.


Step 5

Print off our sheet of rosette centers and cut out the circles.


Glue the circle onto the center of the heart.


A beautiful rosette to hand the person you wish to give your heart to and all made from that old stack of process art.


Happy Valentines day, the world needs more love

Tuesday, January 9, 2018

Rubber Band Stamps

We are back, I hope you all had a great Christmas and are ready to dive back into the New Year bring on 2018! I woke up News Years day with lots of awesome plans for the year ahead, don't you just love that one day different and you feel like you get to start over? Well I did until we were hit by those extreme cold temps here in the North East and suddenly my 'take care of yourself' goals had to be paused a moment while I had four kids home from school for an extra 5 days. We made the best of it, ice skating, fort building and lots of hot coco and crafting.


These easy stamps are one of the crafts we did when the weather outside was frightful. They were fun to make and a great reuse for some of those elastic bands you get tied around your broccoli. For some reason I can never throw them out because 'they might be useful' so now I have lots.

What you will need:

School glue
Small pieces of cardboard - they don't have to be circles
Elastic bands - ours came off our veggies but if you buy some the thicker the better
Ink pads or paint for printing


Step 1

Draw the shape or picture you want to create onto your cardboard cut out. Then begin to cut the elastic bands to fit it. If you need them long and skinny and only have these super recycled thick ones then you can cut them lengthwise.


Step 2

Paint a layer of glue over the cardboard using a brush. Then begin to stick your elastic bands down. You can see here my daughter using lots of little pieces to create the curve in her heart - if the pieces are too long and you are trying to bend them into a curve they can curl up as they dry.


Step 3

Leave your stamp to dry. Once dry break out the ink pads and get printing. If you don't have ink pads try paint on a sponge so the stamp doesn't get swamped in paint as you go to make a print.


Have fun, can you build a picture using your new stamps? Maybe you could create a stamp and print your own thank you cards or invitations. Or what about coming up with your own custom collage paper?