
Tuesday, February 18, 2014

Homemade White Clay

We've been using this white clay recipe for a long time and have made many projects out of it, from Christmas tree ornaments and gift tags to a model of a land form for a 3rd grade school project. This past week we whipped up a batch on one of our snow days and decided we would make plaques to decorate. It is so quick and easy to make I thought I'd share the recipe and our latest wall hangings with you.


You will need:

Baking Soda
Corn Starch 
Water

Step 1

Begin by adding 2 cups baking soda, 1 cup corn starch and one cup of water to a pan (I usually just buy the biggest cheapest box I can find of both items in the supermarket, it makes no difference). Place the pan over a medium heat and stir. It is important that you continue to stir all the ingredients.

Your mixture should go through the following stages:


1) Thick and hard to stir, feels like ooblec if you've ever made that


2) As it heats up it becomes very runny and all ingredients are combined


3) It is ready when it starts to come together again and resemble cottage cheese


Step 2

Remove from heat, allow to cool slightly and knead into a ball, if it is a little dry and crumbly at this point you can always add a small bit of extra water just be careful not to over do. Leave covered with a damp cloth if you are not ready yet to work with it.


Step 3

When you are ready roll out between 2 sheets of wax or freezer paper until it is about 1/4 inch thick. Cut with cookie cutters or a knife. Alternatively you can work it by hand into the shape you require. Place clay on a cookie sheet in oven at 170F for about 2 hours or leave in warm place overnight to dry out. Once it is dry you can decorate it as you choose. Remember make any holes you need in clay before it dries out.


Step 4

Today the kids decided to decorate their clay shapes. Some made name plaques for our pets, E made a wall hanging. They painted them with acrylic paint and used stamps to write things before we hung them. 


D really enjoyed the stamping and continued to stamp everything in sight!


The finished pieces turned out really nice, the kids are super proud and I have a few ideas to try my own after they're all in bed.




Sunday, February 16, 2014

Snowcano

So much ice and snow I've really been exhausting every bright idea this year to keep the kids busy in our yard. Today we took science outside, it was super simple, a great way to highlight chemical reactions to the kids and all the ingredients I already had in my cupboards.


You will need:

Baking soda
Vinegar
Food coloring (red)
Washing up liquid
Plastic bottle (we discovered the one photgraphed here was a bit big, we repeated the experiment with a smaller bottle and got far more Lava for the kids to see)
A funnel (Helps but not essential)


Step 1

Add about 3 tbl spoons baking soda, a few drops of food coloring and approx 1 tbl spoon dish soap to the plastic bottle.


Step 2

Go outside and build a snow mound around the bottle leaving the opening poking out the snow.


Step 3

Use funnel to pour about 4 tbl spoons vinegar into bottle. This does not have to be exact we free poured and added a little more afterwards.


Stand back and watch your volcano erupt. The science behind it : the baking soda (alkali) reacts with the vinegar (acid) and creates a gas. This gas causes the dish soap to foam and with the red food coloring you get 'Lava'.


Credit Card Color Mixing

Whilst busy making Valentine pictures the other day I highlighted another project we had tried. Paint mixing; painting with a plastic card (old credit/gift card). These are the pictures we created, I love how they turned out.


You will need:

Thick card stock - we used inside of an old cereal box
Acrylic paint
Plastic card
Magazine pictures
Scissors
Glue

Step 1

The painting stage. Place a few spots of paint around the card, a few different coordinating colors is best.


Then taking the plastic card scrape the paint across the paper, this is best done in a few strokes. Less is often better as the more you go over scrapes the paint quickly becomes more and more mixed. All four of mine love this stage and often get carried away, the great thing about this is there is no wrong way and every stroke can show a completely different splurge of color.


Stage 2

As the paint dries have the children select a picture from old magazines, maybe one that has good colors to match, great texture or an aspect they think represents their likes. We discussed lots of pictures but they all choose very different ones, Looby matched colors, E found a great picture of a forest which had a great texture to it and Buba and D both found things they loved to represent them.

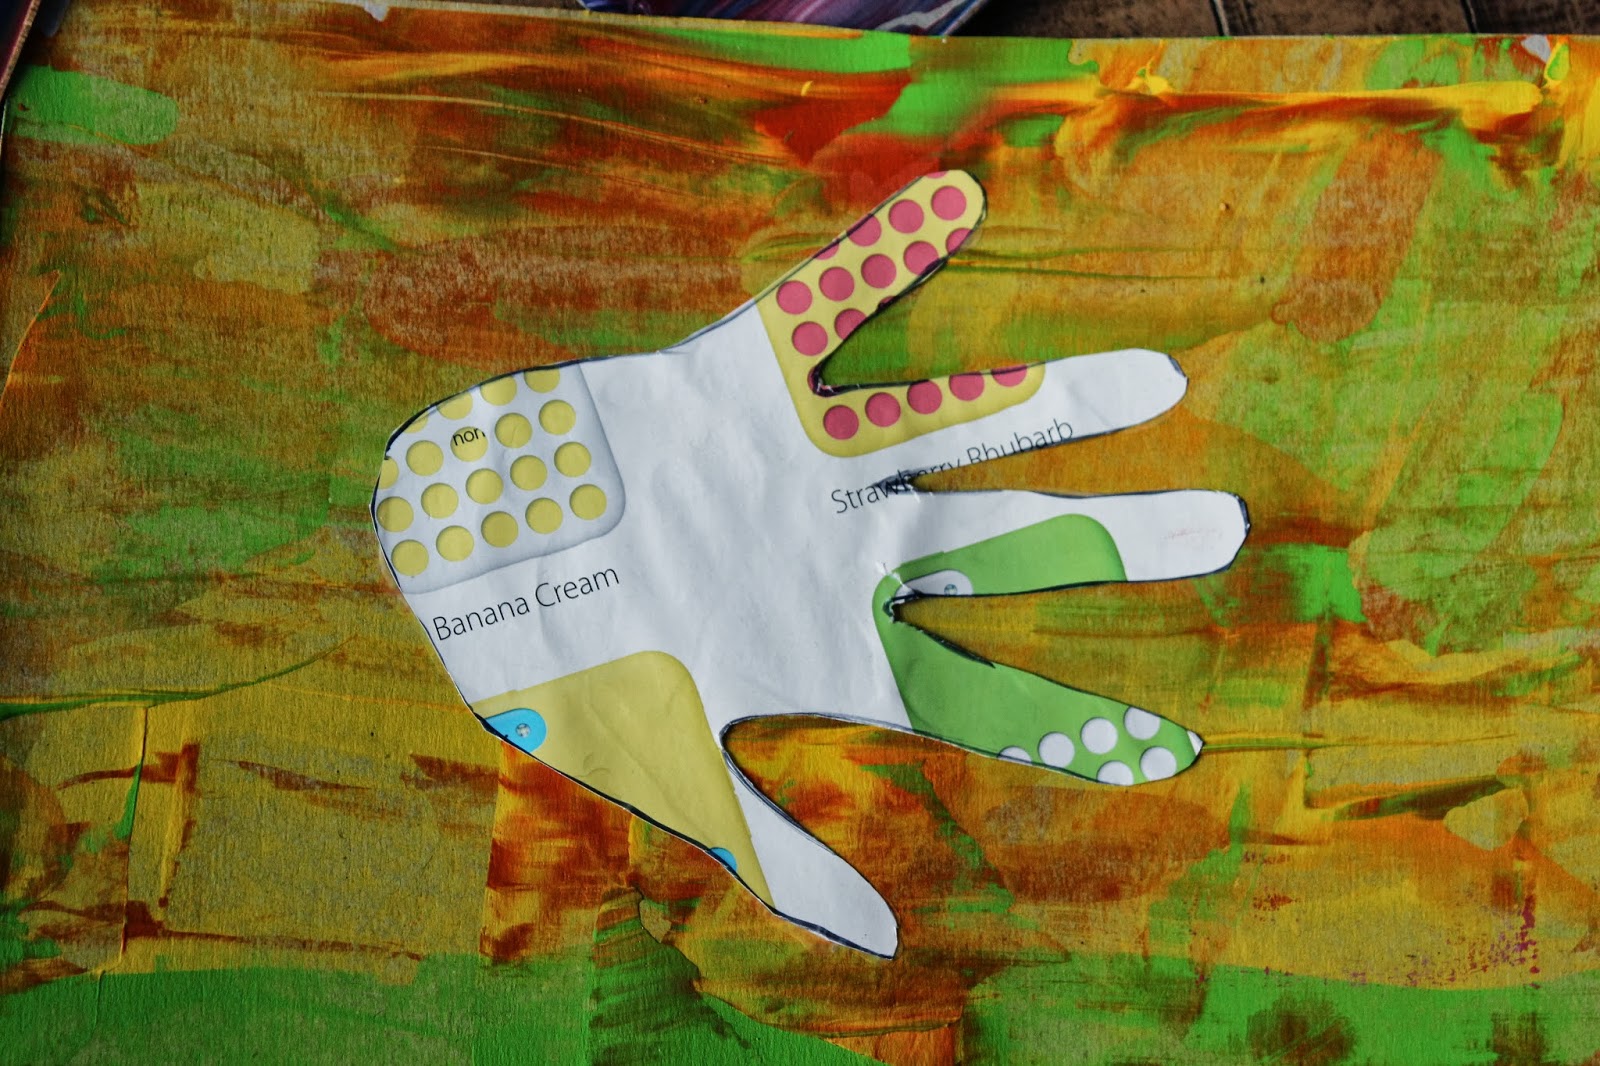
They drew around their hands and cut it out. 


Once the pain is dry glue the hand print to the picture.


Thursday, February 13, 2014

Masking Tape Hearts


A quick painting project to keep the kids entertained during another snow day here in the North east; this winter really is the winter to end all winters.


You will need:

Thick paper, we used the inside of an old cereal packet
Acrylic paint - pink and white
Masking tape


We've done a lot of masking tape painting recently, its easy and as I will share another day we have had some great pictures from it. Today we chose to tape hearts. They all did this differently, I taped D's for him in one go. E and Buba tore of many little pieces of tape to create their hearts.


Then they either sponge painted over the entire card as D and E did. I gave them the paint and let them mix it as they sponged it onto their picture.


Or spread the paint with a credit card - I will share this credit card painting with you tomorrow as we produced other pictures too today with this.


Once the paper was covered we left it to dry


Once it was dry the kids peeled back the tape to see the hearts they'd created.


Valentine Slime


We LOVE slime, any excuse, birthdays, snow days, holidays we can make a slime for it. Yesterday D and I made pink Valentines slime to deliver to a friend of E's who was sick. We kept a bit home to play with. This is our basic, quick recipe it takes all of 10 minutes to pull together.

You will need:

1 4oz Elmers Glue
Water to fill bottle
1/2 tsp Borax (Found in the laundry isle of grocery stores)
Pink food coloring
Glitter
Foam stickers (Optional)
1/4 cup warm water

Step 1

Empty Bottle of glue into bowl, fill bottle with warm water and shake, empty this too in bowl. Add a few drops of your chosen food coloring, we used neon pink for Valentines. Stir.

Step 2

In a separate container dissolve the borax in 1/4 cup warm water.

Step 3

Stir borax solution into the glue solution. This will form lumps to start with but as you stir and play with it the consistency will quickly start to resemble slime - you will need to get your hands dug in at this point.

Step 4

As you play with it knead in a good sprinkling of glitter. We also added the foam stickers to the mix with the backs removed.


Now play, play, play...what fun