Thursday, May 29, 2014

Fireworks in a Jar

Ok so the title is far more exciting than the project but it did keep my lot busy for a good 20 minutes and then rather than waste our creation we added on a short science project that has transformed this jar  into a very hypnotic toy.


Best of all it is one of those projects where you probably have most of this stuff lying around in your kitchen already.

You will need:

Food coloring
Vegetable Oil
Water
Glass Jar with lid (Ours was a sauce jar from the recycling)
Medicine dispensers
(Optional Glitter for add-on Project)

Step 1

Mix a few drops of food coloring with about 1 tbl spoon of water, we used 3 different colors so 3 cups. Mix well with fork.


The boys love being allowed to stir stuff 'super fast'.


Step 2

Fill a jar with water. Then we used our medicine dispensers to add our 'firework colors' to the jar. The oil will not mix with the water so to begin with you get really cool blobs of food coloring floating around in the jar. We called these fireworks as they 'shot' them into the 'sky' (jar).


Then the boys got really carried away squirting and after a short while, they discover that every color together = black.


Step 3

We started again but this time I limited the colors to pink and yellow.


As it dispersed the boys could see the patterns in the jar,


Step 4

As I explained to the boys how the oil and water properties kept them from mixing they wanted to know what would happen if we added more oil. So we did. And glitter just for sparkle ;)


This is the cool bit, the glitter held together as a 3rd entity in the jar, if we shook the jar really hard they would all mix but if we then left the jar to sit we discovered we had created our very own Lava Lamp.


Its hypnotic


Wednesday, May 28, 2014

Cress Heads

Children love watching things grow but most do not have the patience, time just tracks slower when you are a child. I read somewhere once that its because of how we process time and memories, 1 day/1 year is a much larger number than 1 day/21 years its all relative; and yes I'm still 21 ;)

Anyway I digress, welcome wonder seed, otherwise known as Cress. This stuff will sprout in a day or two and give you a head of hair in a week. Perfect for my little impatient gardeners.


You will need:

Cotton Balls
Sharpies
Cress Seeds
Empty egg shell
Something to sit your cress head in (egg box or shortened toilet tube works well)


Step 1

Create your face, have your child draw onto the egg with the sharpie. Show them that the open end is where the hair will grow from.


Step 2

Fill egg with cotton balls.


Step 3

Sprinkle cress seeds all over the top of the cotton balls. (You don't really need the entire packet as Buba did but try telling that to a 5 year old).


Step 4

Water so that cotton wool is moist and stand in a sunny spot. Keep the cotton wet by watering when needed. you will see the seeds germinating within 24-48 hrs.


By day 3


By Day 7


And the best bit about cress is that once they've grown the hair they can pick some and add it to a egg and cress sandwich knowing they've grown their first vegetable.


Saturday, May 24, 2014

Eco Seedlings

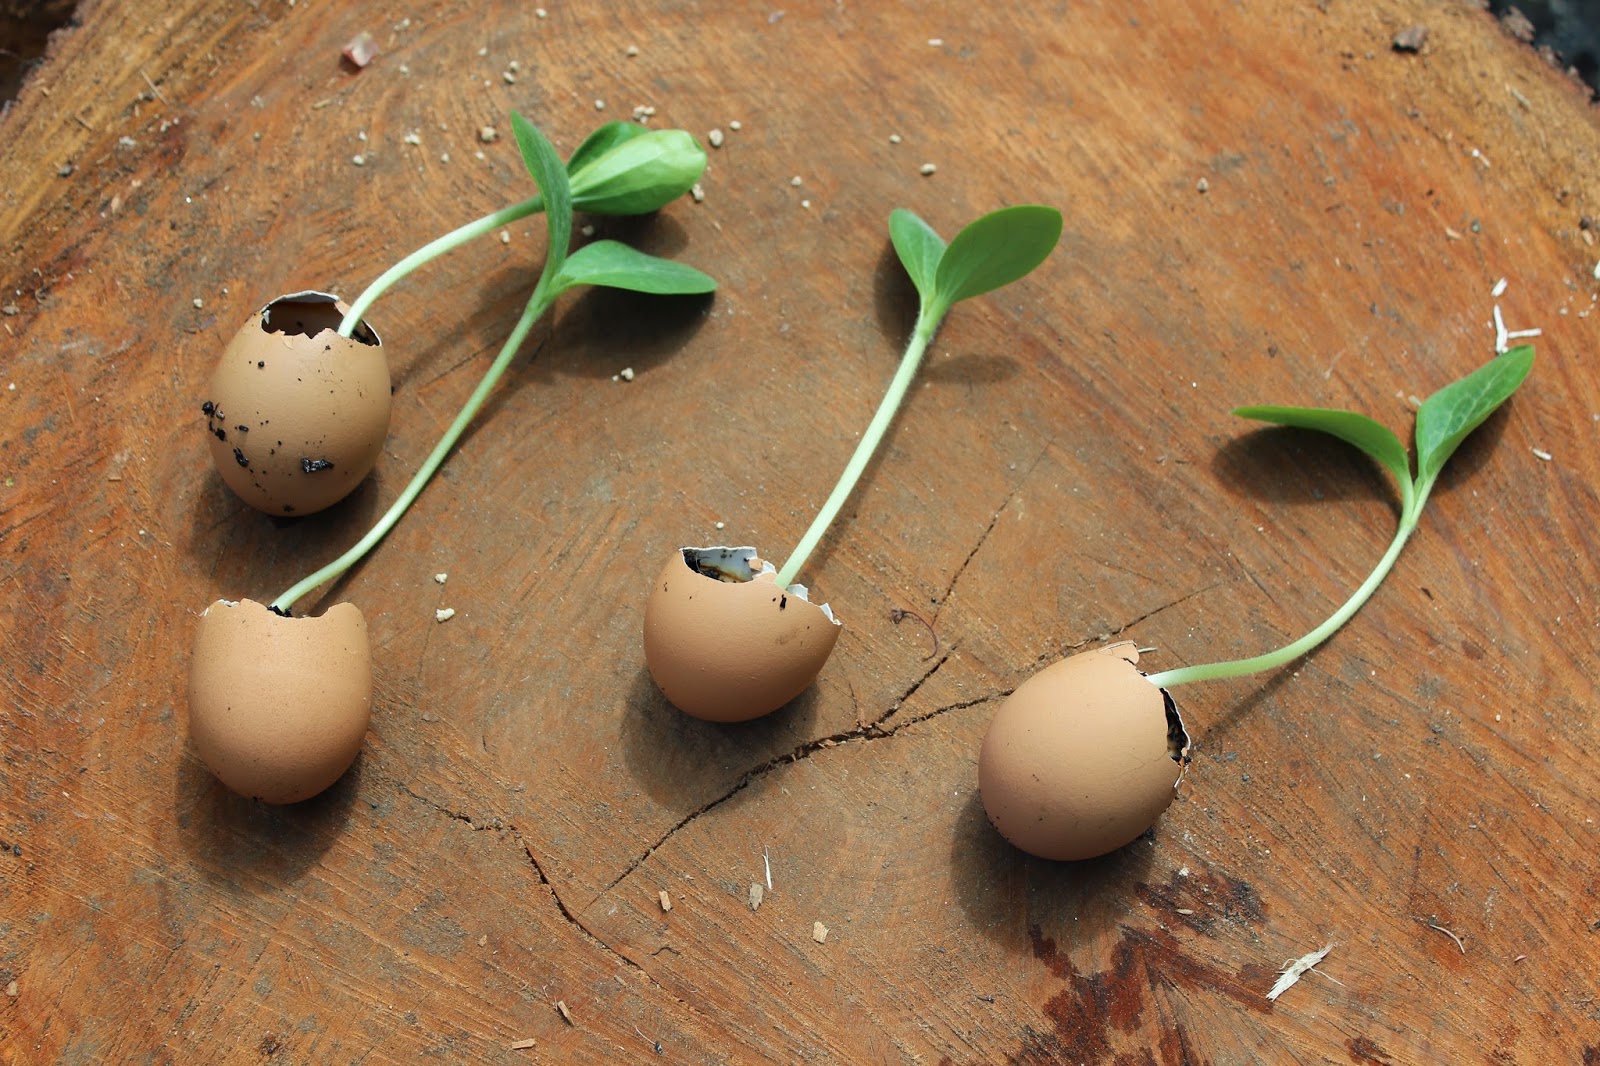
A few years back I started using egg shells to get my seeds growing rather than buying the seedling kits from stores. They have worked wonderfully and so I shared this technic with the Blue Barn kids during our last Eco camp.


You will need:

Soil
Seeds
Empty egg shells broken approximately 2/3 the way up

Step 1

Place some soil in the shell, add a seed (we used pumpkin seeds), cover with more soil so egg is full to top. Place filled egg shell in sunny location.


Step 2

Water, watch and wait. Keeping soil moist but not 'swimming' as I tell the kids, watch your seedlings grow.


Step 3

Once they are ready (and its warm enough) transplant them to your garden. Take the tray outside, decide where you want to plant your seedling. Ours went in the pumpkin patch.


Gently break the bottom of your egg shell to allow the roots to grow further.


Bury to the depth suggested on the seedlings packet.


One happy pumpkin, easily transplanted.


Gardening is tiring work!


Thursday, May 22, 2014

Pipe Cleaner Ninja's

My boys are Ninja crazy, be it Teenage Turtles or Lego Ninjago, hence the other day after making the girls fairies out of pipe cleaners and beads the boys wanted Ninjas.  These were simple little guys to make and led to hours of fun and D carried his around with him for the next 3 days.


You will need:
(Per Ninja)

3 pipe cleaners
1 larger bead
2 smaller pony beads
2 drinking straws
Scissors
Marker


Step 1

Take 3 pipe cleaners and twist together in center. You should do 2-3 complete twists to ensure they are held together.


Step 2

Thread the 2 smaller pony beads over two strands and push up to cover twisted center.


Step 3

Cut your straws into 8 pieces approximately 1 inch long. Thread 2 on each leg and 2 on each arm. Bend ends of pipe cleaners up to make hands and feet.


Step 4

Draw a face on the larger bead using your sharpie, we drew a Ninja mask.


Push 2 strands out to the sides and then thread the 2 remaining strands through the larger bead.


Once the head is in place you can either fold pipe cleaners down to create long hair or twist into a knot and trim any excess to create short hair.


And there you have it, Ninja's ready to go. What adventures will yours have?