Wednesday, December 21, 2016

17 Ways Sew a Christmas Softie

You might remember back at the beginning of December we posted our gingerbread cookie cutter craft as part of the sew a softie campaign run by Trixi over at Coloured Buttons. Well various bloggers have been posting throughout December and today I'm posting a 12 5 days until Christmas round up with 17 super easy 'softies' that were created by so many fabulous bloggers as part of this holiday sewing special. And with a  few more days until the big day there is still time to get your kids sewing something special for that someone special.


On the first day of Christmas my true love gave to me, a gingerbread cookie cutter softie,


Well here are our cookie cutter Gingerbread instructions if you wanted to check them out again.

On the second day of Christmas my true love gave to me,


On the third day of Christmas my true love gave to me, 


On the fourth Day of Christmas my true love gave to me, lots of ways of sewing a snowman softie,


On the fifth Day of Christmas....oh just give me the awesomely simple sewing plans and lets not drag it out for 12 days!


We hope you enjoy making these as much as we did.


Winter Solstice Candles


Happy Winter Solstice

It is so good to think that from here on out our days are getting longer, every day (well here in the North anyway)  we will be moving closer to summer. Depending on how far north of the equator you live you will be effected by greater or lesser extent. I recently read that ancient people thought during the long dark days of winter the sun was going away for good.  They became concerned that they would have to live in perpetual darkness. No wonder so many religious holidays fall around this time of year and celebrate with lights, the transition to longer days is something to celebrate and light becomes the obvious symbol of hope in the darkness.

So today we are going to be making something I remember making as a child. We will be making orange pomanders. They are incredibly easy to make and smell SO good, often they are just decorated oranges so if you want to leave the candle out and just use them as a room decoration you can and they make your home smell wonderful. But given its the solstice and we've been talking about light we will be adding candles to ours.


You will need:

Oranges
Cloves
Ribbon
Glue or as we used glue dots
A small candle


Step 1

Begin by gluing the ribbon around the orange in whichever direction you choose to go. 


Step 2

And this really shows how easy it is, begin sticking the cloves through the orange skin using the spiky end of the clove.


Continue this moving around in a circle. 


Or a line.


The way you choose to decorate with the cloves is completely up to you. Some go for maximum coverage. Others a patterned design.


Step 3

Cut away the skin at the top with a  sharp knife if you are going to add the candle. 


And your done all thats left is for the candle to be lit and the subtle smell of oranges and cloves enjoyed on this Winter Solstice.


Friday, December 16, 2016

Cardboard Reindeer


With just over a week until Christmas the number of cardboard boxes arriving each day has multiplied at this address ten fold. I love the ease of internet shopping, and lets face it if it weren't for Amazon my kids would not be getting any presents this year, because really when on earth did my Mum ever have time to do Christmas shopping? - or anything else for that matter!  The downside of my easy life is of course all that cardboard, I hate seeing so much waste, tiny gifts in too big boxes and although we do recycle the cardboard I do like to use what I can with the kids to create. After all its a free art supply and I can never have enough 'free' in my life.

There are so many wonderful ways to re use cardboard, just this past month we have turned this:


Into trees, more trees, gingerbread houses and so much more.


Today I thought I'd share a sweet little Reindeer invitation I left out for the kids to create.


To create a Reindeer you will need:

Lots of cardboard boxes
Our Reindeer template found here
Any art supplies you have on hand, a few ideas are:
  • Paints
  • Pastels
  • Scrap paper such as wrapping paper or old art work is great
  • Stickers
  • Washi Tape
  • Chalk pens
  • Fabric

Step 1

Print out the template and cut out the shapes. Use the template to trace the reindeer face and nose. For the antlers you will have to print the page twice and tape together to create a full template or flip the template over to create the left and right side of the antlers. Once you've cut the cardboard you should have three shapes that would stack together as shown below.


Step 2

Decorate.

I love leaving out invitations for the kids to create their way. Having the base template gives them a great starting point to go in which ever direction they choose. I had left out a number of easy supplies to get them started but I also let them know that it was 'open studio' so they were welcome to raid the supply shelves too if they had an idea that needed something else.


Here are a few of the 'easy' supplies that we love as part of this invitation to create. None of this is sponsored by anyone -I wish! We just really like these things for creating with  and they all worked especially well on many of the cardboard creations we have made. All these items would be great additions to anyones craft supplies.

Washi tape, tears easily even little fingers can use this and its just oh so pretty.  As you can see from the picture we have a little obsession with it, these are just our christmas ones 😳.


Next up were our pastels, so many possibilities and kids love how they glide onto the paper, plus they are super fun to blend together for your own unique look.


Scraps of paper, this pile of off cuts was from another project but really with paper anything goes, old artwork is awesome or Holiday wrapping paper, the skys the limit.


The kids especially liked the bucket of bits. I'd filled it with bells, stars, stickers and pompoms. For our christmas trees this was one of the most popular additions but surprisingly for the Reindeer they stuck to the other stuff more. 


My son was recently gifted these kwik sticks for his birthday and immediately fell in love with them as did all the other kids so I soon had to buy more. They look like twistable crayons but glide easily onto the paper/cardboard and are in fact paint, except they dry really quickly. they worked great on these reindeer.


The final supply we wanted to give a shout out to was our fab fav Fun Chalk. We pretty much use these on everything. The colors are super bright and the kids love them. (I do too!)


Back to the decorating. The only guidelines I gave the children was that I wanted them to use a different material for each layer of their Reindeer. For example if they used paint on the antlers they were not allowed to use it on another template piece. This helps to get the kids from using just their favorite medium and also helped to create the fun look with the final Reindeer. Its also tricker than they thought to match up the different colors and textures to create the desired look they were after.

I did offer them other supplies but the majority stuck to what was in front of them on the table.

Step 3

Once all three pieces are decorated you can glue them together, we used the hot glue gun for this because it held them better immediately but regular glue would also be fine if you have the time to lay them flat to dry.

Here are a few of the creations, I love how different they all are and to think they started life as packaging!


If you have a go at making them I'd love to see pictures, tag us on Instagram @thebluebarn or leave a picture here in the comments. 
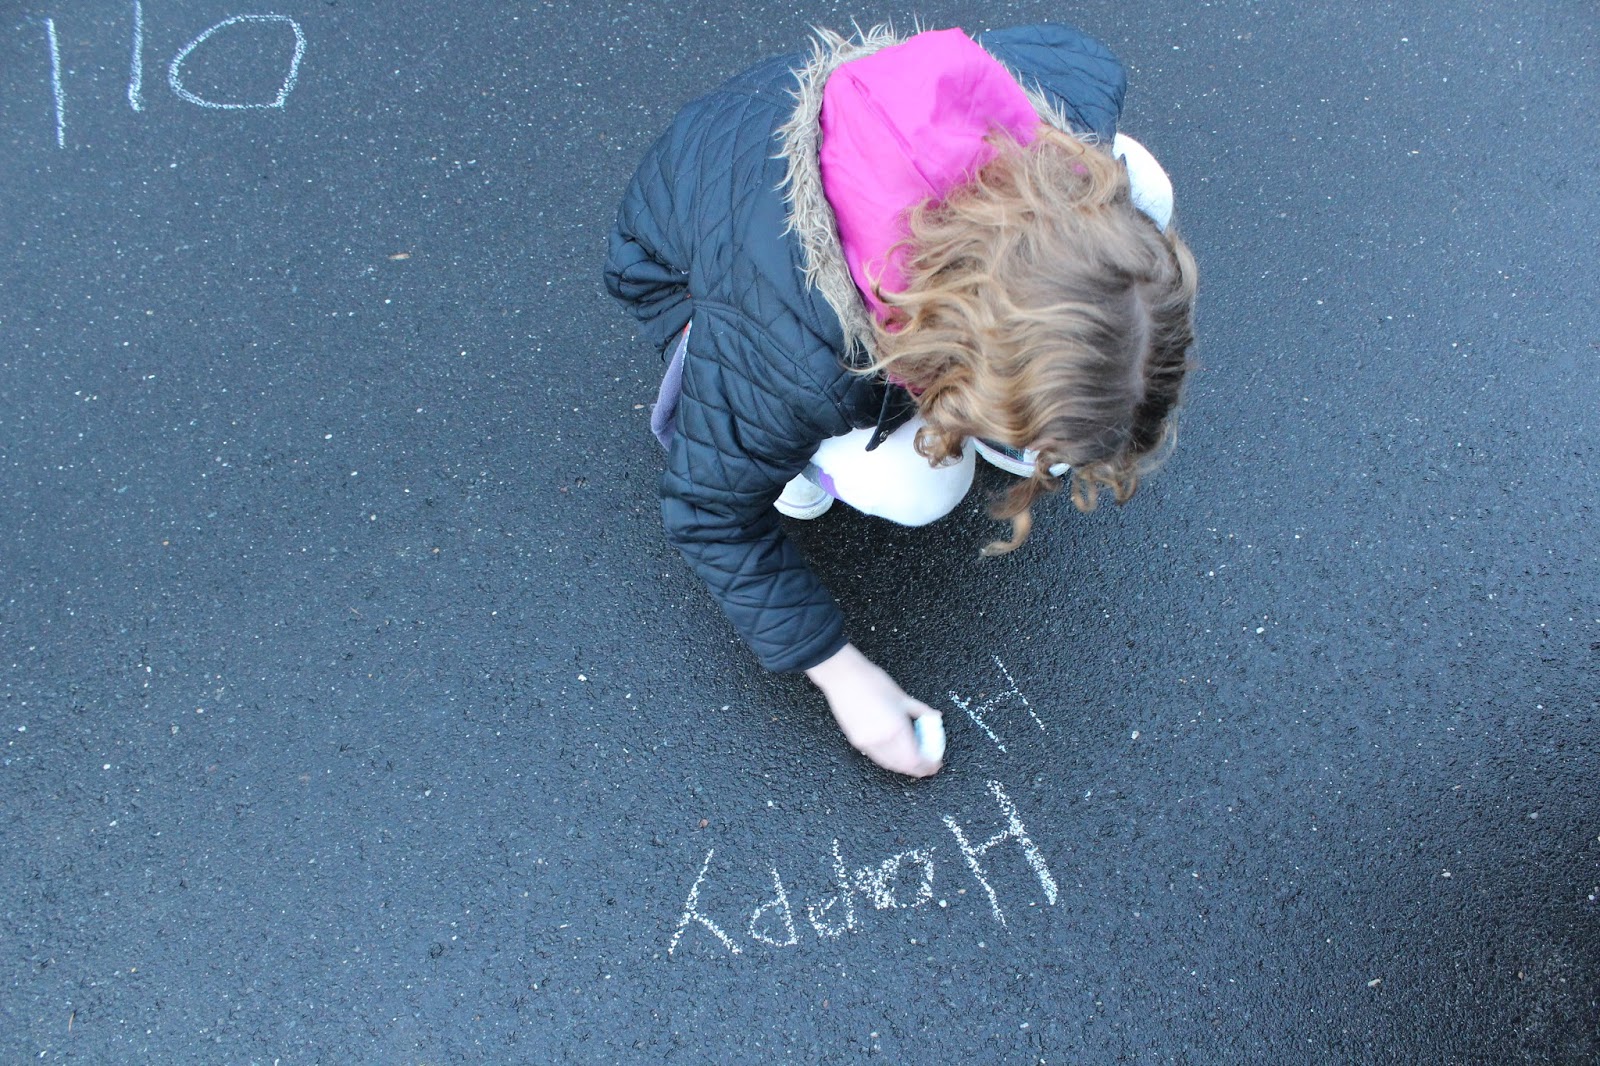
Happy Holidays


Monday, December 12, 2016

Recycled Chalk Snowflakes


Are you all set for the holidays? We put our tree up this past weekend, its the usual mix match of kid made ornaments and Mummy's special ones that need to be placed high up on the best branches. Everything always is piled on in one area with kids putting multiple ornaments on a single branch, so I have to reorganize them all when the kids aren't looking. And then there is the argument as to who gets to do the fairy on the top, who did it last time, or the time before that - I never remember year on year do you? With 4 kids its impossible. In the end this year after a few tears and a bit of wrestling Daddy had to do it anyway because none of us could reach! With the tree up we thought we could make a few more of these awesome recycled chalk ornaments to fill in the gaps. I posted them on Instagram just after Thanksgiving and have had a few requests as to how I made them.

What I especially love about these is their environmentally conscious nature. In one aspect you are recycling old odds and ends of chalk pieces that would otherwise just end up getting thrown out. 

Secondly you've created a unique pretty sparkly tree ornament which could make a nice gift for someone or gift topper. 


Finally when you take the tree down after Christmas you can hand these pretty ornaments over to the kids and they can reuse them to draw with as chalk. 


How awesome is that, a complete recycle!


So to make these you will need:

Plaster of Paris
The old odds and ends of chalks (I had to use a few new ones just for the pictures because I had used all my old chalk pieces up testing it out in the first run through!)
Glitter (optional but you an never have enough)
A disposable container and spoon
A cake or soap mold (These can normally be found in the baking supplies section of retailers)
Some ribbon


Step 1

Take your chalks, place them inside a bag and crush them up. We bashed them with a wooden rolling pin by far my kids favorite part of the entire process. The bag helps to contain the dust, if your doing this outside you could just do it on a board and skip the bag.


You want to leave some pieces of chalk larger, if you go to powdery the chalk dust just dyes the plaster of paris and your snowflakes will be all one color.


Step 2

Taking your cake or soap mold and divide the larger pieces of chalk amongst each mold, add some of the smaller dusty part too but keep a little to onside to add back at the end.


Step 3

Mix up your plaster of Paris as per the instructions, ours was 2 parts plaster of paris for 1 part of water. We used approximately a cups worth of the plaster of paris and a little over a half cup of water because I wanted the plaster of paris to pour easily around the chalk pieces. 

DO NOT WASH ANY OF THIS DOWN YOUR SINK IT WILL BLOCK. This is why we used disposable containers to mix it in.


Don't let the plaster sit in the container you mixed it in because it will begin to 'cure' immediately. If your adding glitter stir it into the plaster of paris mixture now. Once you've stirred in the glitter pour the mixture into the mold over the chalk pieces. Tap the mold gently to encourage any air pockets to float up and burst at the surface.


Step 4

Once all the molds are poured sprinkle any remaining chalk dust over the told to the molds. At this point we also cut short pieces of ribbon and pushed the two loose ends into the plaster. We did this so that after the plaster is hardened we could hang our snowflakes on the tree. If you are not hanging your snowflakes this is of course totally optional.


Leave the snowflakes to harden. Plaster of paris 'cures' as opposed to dries overtime. We were able to pop our snowflakes out of the molds after about 20 minutes because they were firm enough, however, we left them on the side for another 12 hours before the felt properly dry to touch.


These are so pretty hanging on our tree, we added the glitter so they sparkle in the tree lights beautifully


And when your all done with using it as a tree decoration head outside and reuse them as sidewalk chalk.


Wishing you a recycled Happy Holidays