Wednesday, February 26, 2014

Scented no cook playdoh

Still trying to wish spring upon us as we approach March with snow on the ground. I made D a batch of my favorite no cook play doh today, yellow and lemon scented. Its got to help right?


You will need:

1 cup flour plus maybe 1/4 cup more for kneading out
1/2 cup salt
1 cup boiled water
1 tbl oil
2 tbl Cream of tartar
1 sachet/ 1scoop of unsweetened lemonade powder
Yellow food coloring if you need it more yellow

Step 1

Put flour, salt, cream of tarter, oil and lemonade in bowl. Add 1 cup boiling water. Mix, you can mix by hand but I use my electric mixer and end up with perfect play doh every time plus it takes maybe a minute to make. If you need extra yellow add a few drops of food coloring now.

Once it is well mixed scrape down the sides and turn out onto a floured surface, now have your helpers knead away. D really got into this today.


Step 2

Once D was done kneading I gave him a few tools to make daffodils. (Green craft sticks, flower cookie cutters.)


After a short time D jumped up to look out the window. "Its snowing...its snowing" Guess my daffodils didn't work, wish my enthusiasm for more snow matched my 3 year old.


Monday, February 24, 2014

Homemade Peg board

Another boredom buster for us to day as our brief spell of above freezing weather this past weekend did little to remove the 2 foot of snow that was covering the ground, it just seemed to create either slush or ice. Anyway this was a Mommy created toy due to all the pins but it has kept them all entertained at various points today so I class it as a hit.


You will need:

Poster board
Exacto knife
Glue 
Push pins
Ruler
Pencil
Duct tape 
Elastic Bands


Step 1

Cut 2 pieces of poster board to size mine was 10'' x 8" but you could go larger. Remember you will just need more pins. Once you have 2 pieces the same size glue the two together.


Now if you have board already marked with a grid you can use that, I didn't so using a ruler and pencil I marked 1" squares across the board.


Step 2

Next you take a pin and press it into the first dot, remove it, put a small dot of glue into (on top) of dot and then reinsert the pin. Repeat for every dot.


Step 3

Finally I taped a duct tape boarder around the board and left the pins to dry. Once it was dry I checked all the pins were secure (I had to re-glue a couple) and then I gave it to D to play with. To be honest I was surprised at how long it kept him busy, he enjoyed stretching the elastic bands as far as he could and in his orderly way made a nice straight line pattern, you can see the concentration on his face.


Saturday, February 22, 2014

Re-Purposed Altoids Box into TicTacToe

O.k I know most of the time I'm heading out to a doctors appointment, restaurant or some place I expect the kids to sit still I bank on my iPhone to keep them quiet but I really hate relying on it too much (plus then what am I meant to do?!?) so I usually end up grabbing a book, coloring, small car etc to keep them busy.  So as I came to the end of my last Altoids box I decided to re-purpose it, I mean could you ever throw them out? I can't they are just a perfect case for something right? Now I had a reason to save them.

So far the kids and I have at least 8 grab and go uses for the tins, I plan on sharing them all with you but as I have this one finished we will start here; TicTacToe.


You will need:

Altoids box
Felt in 2 colors
10 small pieces, we used beads in 2 colors


Step 1

Begin by tracing the top and bottom of the Altoids tin onto one color of felt. Glue this to the inside of the lid.


Step 2

Next we cut 4 strips of felt in the other color, 2 were slightly shorter due to the shape of the tin.


We glued these in to form the tic tac toe board.


Now time to play, we've already tested this out on the soccer sidelines! Next up snap in a tin, photos to follow.


UPDATE

Here is the next Altoids box; Word Magnet, so simple. We cut words from magazines and stuck them to magnets then put them in a tin. I lined the top of the tin. Another game to play.


Friday, February 21, 2014

Spring Flowers

So todays post was influenced by a gorgeous bunch of Daffodils I have brightening my home. I love Daffodils, maybe it is my Welsh roots (they are the flower of Wales) or maybe it is their bright sunny color signifying the end of winter. All I know is as soon as they hit the shops they find their way to my house.


This is really such a simple project even the littlest can participate, if you don't mind maybe stained hands from the food coloring.


You will need:

Coffee filters
Food coloring - we used yellow, orange and pink
A couple of small containers
Green Pipe Cleaners / Chenille Stems

Step 1

Add a few drops of the food coloring to each pot and mix with a little water (our cups were about 1/4 full after mixing with water).


Next we added color to the coffee filters, D just wanted to use the stirring spoon to sprinkle his papers with the colored water, this worked great until he got carried away and I had to use a few extra filters to soak up the excess.


Buba decided to follow my advice and tried twisting up the papers in different way to watch how they absorbed the liquid. This gave us some cool tie-dye effects which was what I was after.


I think the boys could have dyed the entire packet of filters, they really did get carried away when they got going. We covered the table and then I told them we had to let them dry.

You could leave them to dry overnight but we have no patience so I set the oven to the lowest setting and put them in until they dried. I think I had the whole lot dry in about 20 minutes.

Stage 2

The girls arrived home at this point and as the boys had no interest in fiddling with the stems they let the girls turn them into flowers. To do this we pinched the middle of two or three papers together and twisted a green chenille stem around the end. 


Looby found if she folded one filter paper into eighths and then bunched a second around it she could create a 'trumpet' similar to my Daffodils.


It took no time at all to use up all our filter papers and we ended up with a beautiful bunch of flowers.


Almost as beautiful as my Daffodils but I'm a little bias where they are concerned. The fact Looby had to spray them with 1D perfume doesn't help!


Wednesday, February 19, 2014

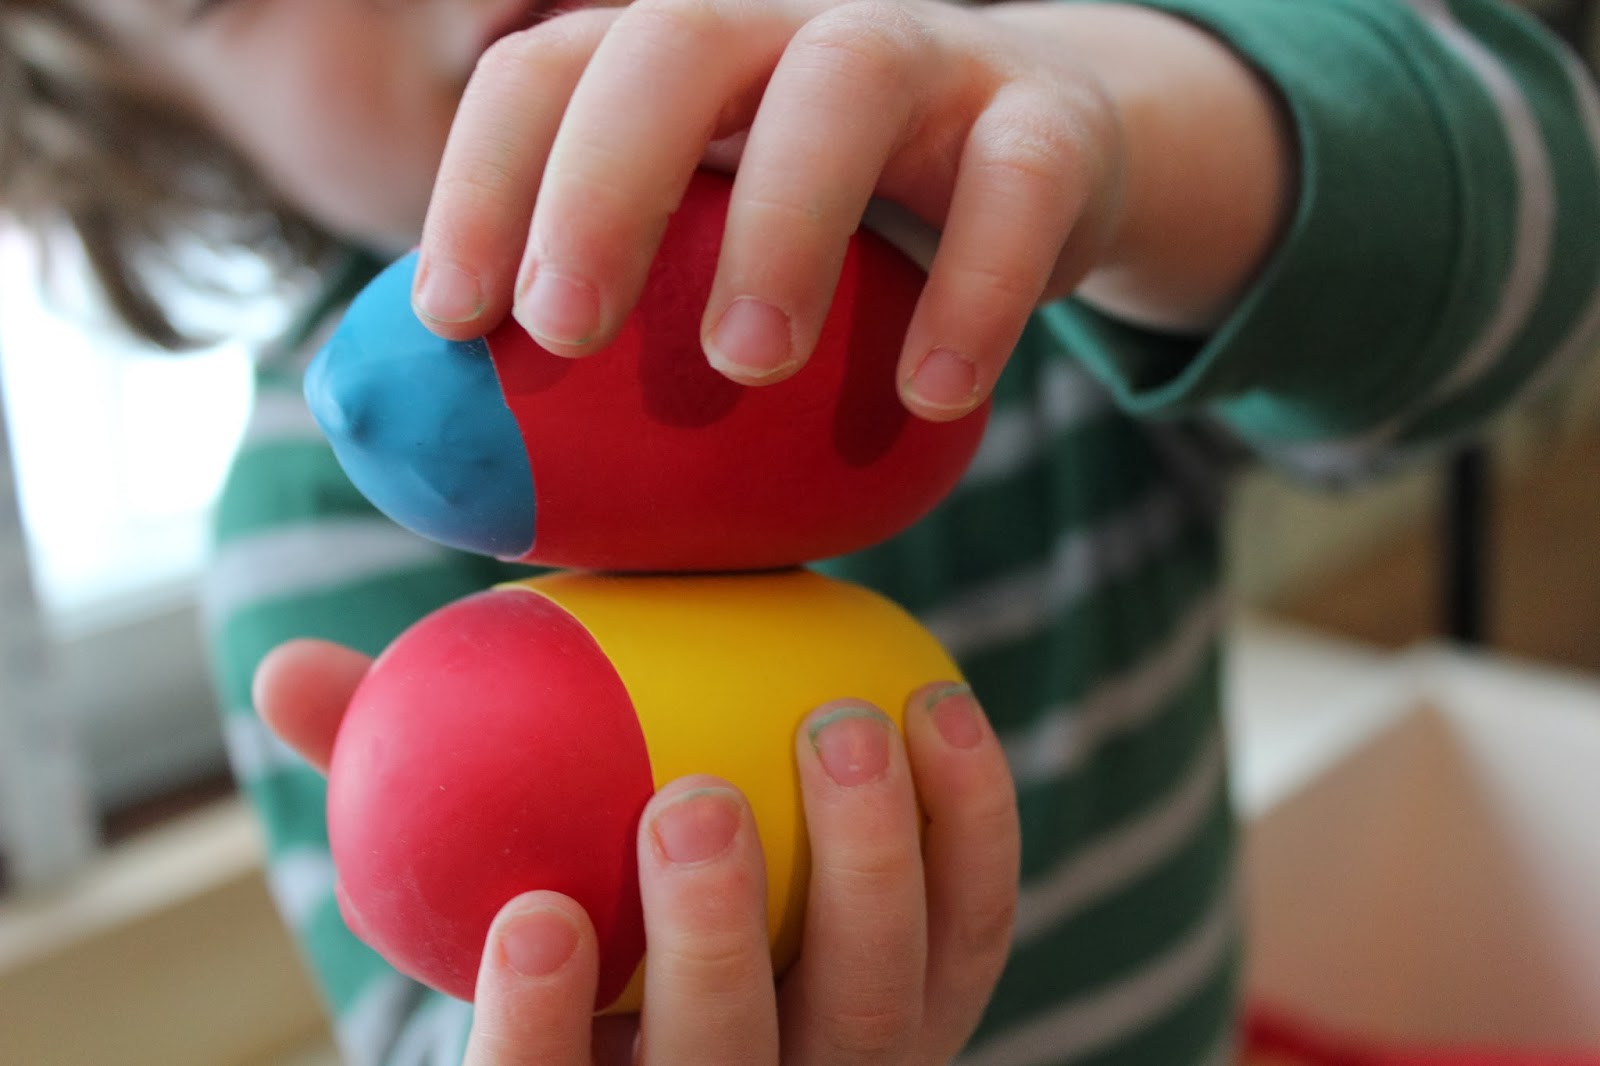
Stress Balls

I loved these; I mean the next time I see the words 'snow day' ping up on my phone I'm going to grab one of these and count to ten. Forget making them for the kids, every parent, care giver or teacher should make their own personal stress ball.


You will need:

Corn Starch (about 1 cup per ball)
Balloons (3-4 per ball)
Funnel
chopstick or unsharpened pencil


Step 1

Place the funnel in one balloon and begin to fill with the corn starch. You will have to work it down into the balloon with your hand and the chopstick. Keep pushing the corn starch in to stretch out the balloon until you have the size you want. This gets a bit messy but is quick to wipe up when your done.


Once it is filled tie it in a knot and trim off the top of the balloon.


Step 2

Taking the other balloons cut off the neck further down.


Now pull the balloon over the filled balloon. Repeat a second and third time alternating the ends you pull it over to create layers. I used alternating colors to show the layers but all one color is fine too.


Step 3

Play, squeeze, juggle or throw. How many indoor games can you come up with to relieve the snow/rain day blues.