Tuesday, March 31, 2015

Spring Chicks


Ok so here is to hoping my blog has as much affect on the weather as it did back in late January. Back then we were doing snow dances and making all things winter in the hope of drawing snowfall from the sky; my kids desperate to test run their new sleds from Santa. 

Someone should have shouted 'NOOOO'. 

Since those fatal words were written we have had so much snow and old man winter is refusing to let go with every ounce of his being. So now here you find me seeking crocus and daffodils as we head towards Easter with snow still on the ground.

And in that mindset we set about making these awesomely colorful spring chicks. We made lots, some have had their own houses built while others simply get found hanging out around the house. Either way they are cute and colorful and worth a share.


These little guys were the brain child of my little guys. Hubby had taken my girls to a gymnastics meet (win for me because those things go on SO long) and I was left with Buba and D. They wanted to make a spring decoration and while delving through my craft supplies they came across the styrofoam balls. After flinging them at each others heads I managed to redirect them to the task at hand and we collected the rest of what we needed for some little chicks.

You will need:

Styrofoam ball
Yellow paint
Googley eyes
Glue
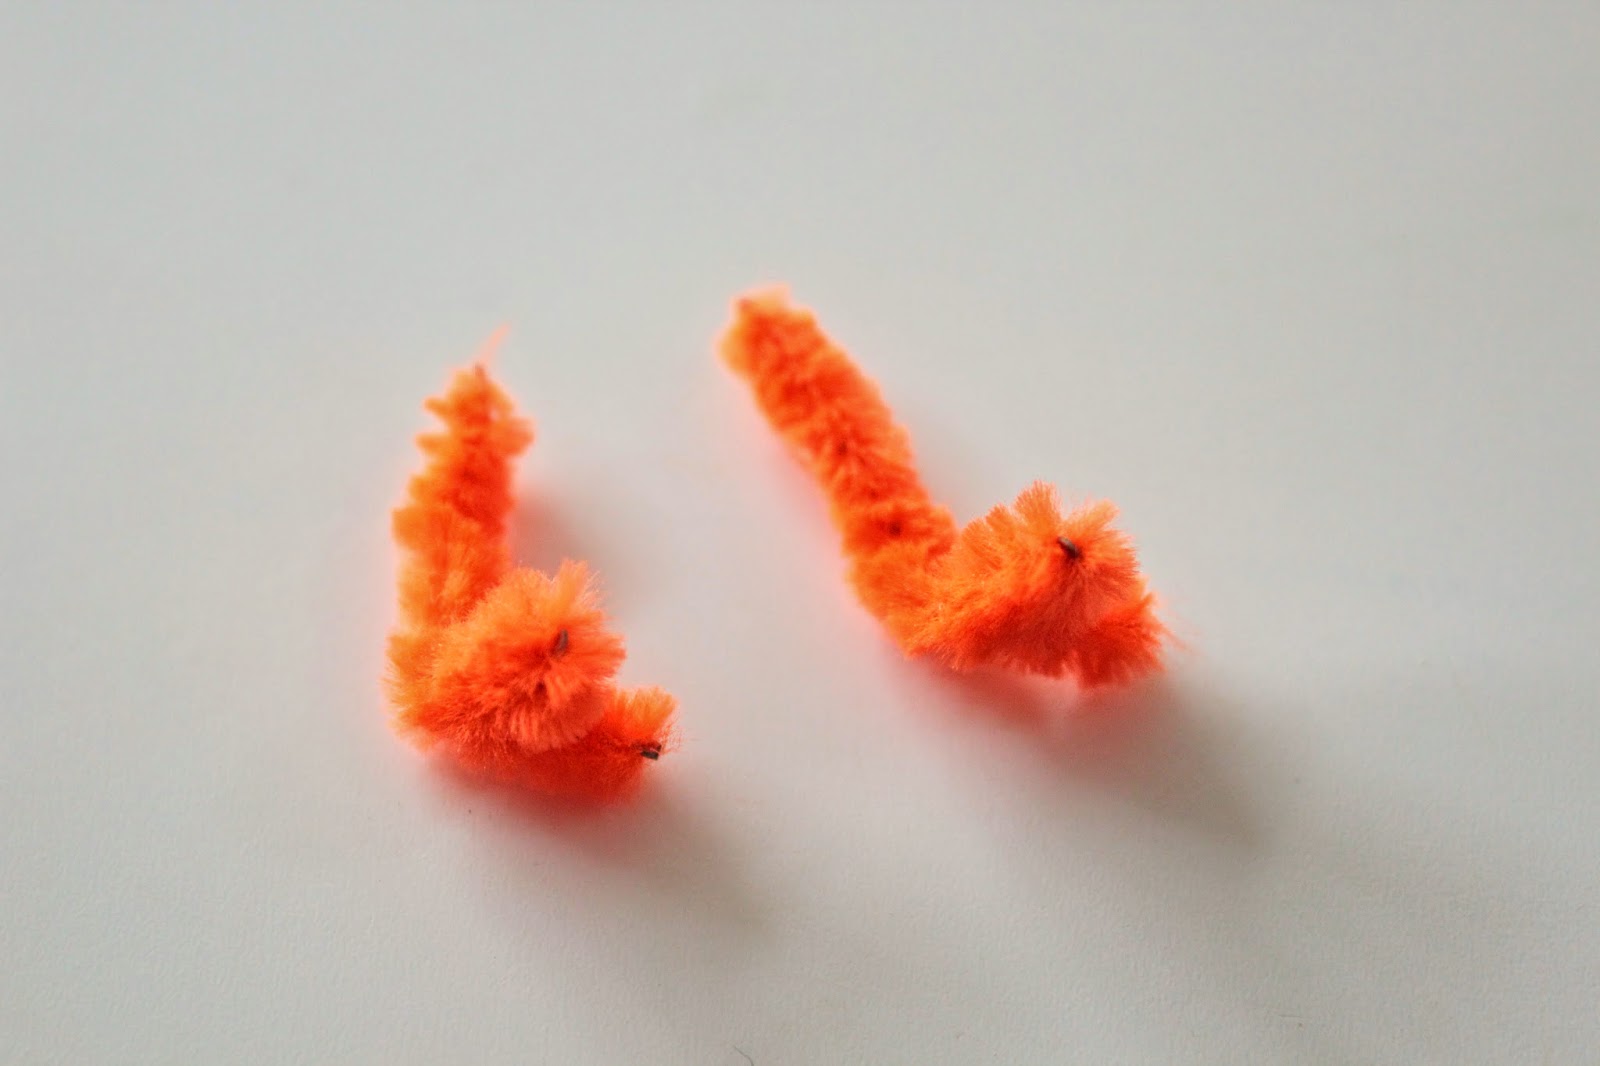
Orange pipe cleaners
wooden skewer or craft stick for younger children


Step 1

Take the styrofoam ball and push the skewer/stick into the bottom of them. Then paint the ball yellow. Holding the ball on a stick makes it easier to paint without touching it.


Step 2

Glue on 2 googley eyes. Take the pipe cleaner and trim to shorter lengths and bend orange feet and a small beak for your chick. Push them into the styrofoam ball.


Step 3

Choose a bright feather and glue a tail onto the back of your chick.


Step 4

Your chick is now ready to hang out in a bunch of flowers.


Or if you want to make a home for your little chick, we tried two different ways. 

The first was the way my boys did it. We wrapped a box from the recycling bin in bright paper and then cut a hole in it big enough to allow the chick to 'fly' in and perch.


The second way was done at Blue Barn Camp by my 2nd graders. They cut a hole in the sheet of paper and simply stapled it into a tube shape. This fit perfectly on their little hands for the puppet to live in.


Either way were super bright and cheerful and will hopefully temp Spring from it's hiding place.


Wednesday, March 11, 2015

Bean Art Tiles

The snow is finally beginning to melt this week as our temperatures get above freezing, and it is actually feeling as if spring is in the air (I don't want to speak to soon). I've been busy ordering lots of seeds to grow yummy vegetables in the garden when we see it again, and the kids have started talking about what they would like to plant, despite all their discussions I think they are finalized on the same as last year, sunflowers, pole beans and pumpkins. 

As we pulled out the old seed packets the kids asked to use the ones I didn't want to make some art work. I decided to give them a bowl of dried beans too from the kitchen and rather than have them glue the seeds on to a picture I dug out some self hardening clay and had them use the seeds to create patterns in it. It was a simple project but I love how they turned out.


You will need:

Self hardening clay, for this we used the Crayola White self hardening clay 
A selection of dried beans and or seeds
Rolling Pin
Cookie cutter / knife


Step 1

To begin take the clay and roll it out until it is about 1/4 inch thick, then cut to the shape you want your tile to be, we used a cookie cutter to cut to a circle.


Step 2

Once you have your shape have your child press the beans (or seeds) into the wet clay. Ask them to think about a pattern, swirls or lines, maybe they want to create a shape out of the beans, a flower or the letter in their name, alternate beans etc.


D was very careful as he placed each bean,


Have your child fill in all the spaces,


Step 3

Once they have finished their design using the rolling pin have them roll over all the beans and clay again to create a flat surface. This will help ensure all beans are held on well and also create a smooth surface in the end result.


Step 4

Leave clay to dry for 2 to 3 days and once dry display or if you wish to use as a coaster seal surface with a clear sealant. 


Here are the finished tiles made by D and then his big sisters when they got home from school. So pretty and what a great use for dried beans.


Wednesday, March 4, 2015

iSpy

After more snow, school delays and closings I'm sure a lot of you are thinking of ways to entertain the kids as we limp towards spring, I know I am. Cabin fever has set in and I'm desperately trying to find new ways to use old toys and new games to play inside as we wait for the snow to melt and the first spring flowers to pop their heads up through the hard soil and bloom. 

Yesterday I had D home and looking for something to do. At the moment he is big into the iSpy books and so as I tried to get a few chores done around the house (and get him to collect some of his toys up) I tasked him with making his own iSpy collection, first in green, then red, yellow and blue. He really liked this activity and as he had made such great collections I decided to take a few pictures and turn it into our own iSpy game.


You will need:

A collection of small toys/objects
Camera
Printer
Laminator (optional but I laminated our game cards so they will last longer)

Step 1

Have your child find objects for your iSpy, we chose to sort by color but you could choose any theme for this.

D collected green,


And red,

And yellow,
And blue,


Step 2

We played a few guessing games at this point, removing items and trying to guess what was missing. D found this quite difficult so then I started giving him clues as to what was missing.


Step 3

Next I took a few pictures of the collections to give him hints as to which items were missing.


Step 4

Before we tidied up all the objects I took photos of individual items within the collections. A few examples of these are below, I printed these smaller with a number of pictures on a page and a few written clues. 

For example,

"Protector of the castle, I like to wear red."


"I might be small but I drive fast, I'm the color of a lemon."


"I never wanted to be extinct, they call me blue-a-saurous."


Step 5

Finally, I laminated the printed pages to have them last longer and then punched a hole in the top corner and tied them together with some yarn. 

D was so excited to share his very own iSpy book with his siblings when they came home. This will be a great thing to grab on our way out to restaurants and doctors appointments in the future and it helped us fill a cold snowy March day.