Saturday, June 28, 2014

Bubble Wands and bubble solution recipe

We made these at blue barn camp this week, the kids loved them and I thought they looked really pretty. After camp my boys were upset they'd missed out so we had to make a few more and I snapped a few pictures.


You will need:

Wooden dowel (ours were about 6 inches long)
Beads
Copper wire (ours was 16 gauge from Amazon)
Pliers

Bubble solution: 1 cup dish soap, 6 cups water, 2 tbl Glycerin mix all together and leave sit at least 3 hrs 24hr preferred.


Step 1

Cut approximately 12 inches of wire and wrap end around the wooden dowel.


Step 2

Thread beads along wire leaving approximately 1 inch at the end.


Step 3

Using pliers wrap end around dowel to create loop.


Now admire your wand.


And if you made your bubble solution beforehand.


Blow Bubbles...your never too old.


Always fun


Saturday, June 21, 2014

CD Maze

Maybe its 100 degrees out, raining or you just need your kids to sit still for a while. This is a great project to grab to keep them busy for a while. 

We made these at one of my REALLY rainy camp days. I was surprised how much harder it was for the kids to work out, I mean the kids are more than capable of completing maze puzzles but designing your own maze is a lot harder. You might need to help them out, or in my case I just let them work it out slowly over time, they've added to it and tested it out on each other and we ended up with some pretty good mazes. We did loose a lot of ball bearings so you probably want to buy extra if your out picking them up at the hardware store.


You will need:

Empty CD case
Black paper
Wiki Stix
Ball bearing


Step 1

Remove the inner plastic part from the CD case.


Add a piece of black paper cut to size.


 Step 2

Using Wiki Stix get the children to map out a maze through which to move the ball bearing. Have them think about a route but also dead ends and places the ball bearing might get stuck.


Step 3

Once they have finished creating, give them all a ball bearing, close the lid and have them test out each others mazes. 


The best bit, if its too easy or won't work you can move the Wiki Stix about until it does.


Wednesday, June 18, 2014

Sponge Bombs

The kids and I made these last summer, I was fed up with the water balloons littering our grass and worried about the dog and other wild animals eating them. I had seen the sponge bombs on Pinterest and they seemed simple enough to give it a try.

Wow what a hit, my kids LOVED them, we kept them and they've been well used again already this summer. Now they seem to be popping up all over the place so heres the 'how to'. Today these are being made for a friends children to enjoy at a summer water party.


You will need:

Sponges in various colors - 3 sponges per water bomb
Elastic hair bands
Cleaning cloths (optional)


Step 1

For each sponge bomb you will need 3 sponges in various colors. A hair band and a few strips of dish cloth if using.


Cut each sponge in strips lengthways.


Cut cloth into similar size strips (we did not completely unfold cloth to cut so once it was assembled we could fan out multiple layers of the cloth).


Step 2

Stack the sponges and strips of cloth three high and three wide. We had the cloth in the 'middle of the sandwich'.


Step 3

Tie elastic band around center of sponges. 


Fan out the sponges and cloth if using. The first is without the second is with.


Now take them outside and be prepared to get wet.

Here is a picture I found showing the water bombs last year, I filled up a small paddling pool with water so the little ones found it easy to 're-load' for water fights. The photo is not great but you get the idea.


Thursday, June 5, 2014

Milk Jug Watering Cans

Children are fascinated from a young age with filling and emptying, be it your purse, kitchen cupboards or board games. The sandbox or bath time are favorite past times for this very reason, plenty of opportunity to empty and fill over and over. So it is no surprise really then that when I recently purchased myself a new garden watering can (the dog chewed the last one) that with four kids we had watering can war. (I really should have thought that one through.) But really not wanting to go out and buy four watering cans I decided to make some, plus that gave us an afternoons activity rolled in.


You will need:

Milk Jug (Ours were gallon but the half gallon with a handle might be easier for smaller children to manage)
Needle
Flame (Fire starter or match)
Hot glue gun or super glue (If lid is clip on)
Sharpies for decorating


Step 1

This step is definitely an adult only step. If your milk jug has a clip on lid begin by gluing it in place, we did this with hot glue around the edges.


Now take a needle and warm one end of it in a flame until it is red hot, now use the hot end to pierce the lid multiple times. You may need to leave the needle in each hole and wiggle it a little to make a hole bigger. We had to reheat the needle a few times in the process os making all the holes.


Step 2

Cut a small hole under the handle through which you will fill up with water.


Step 3

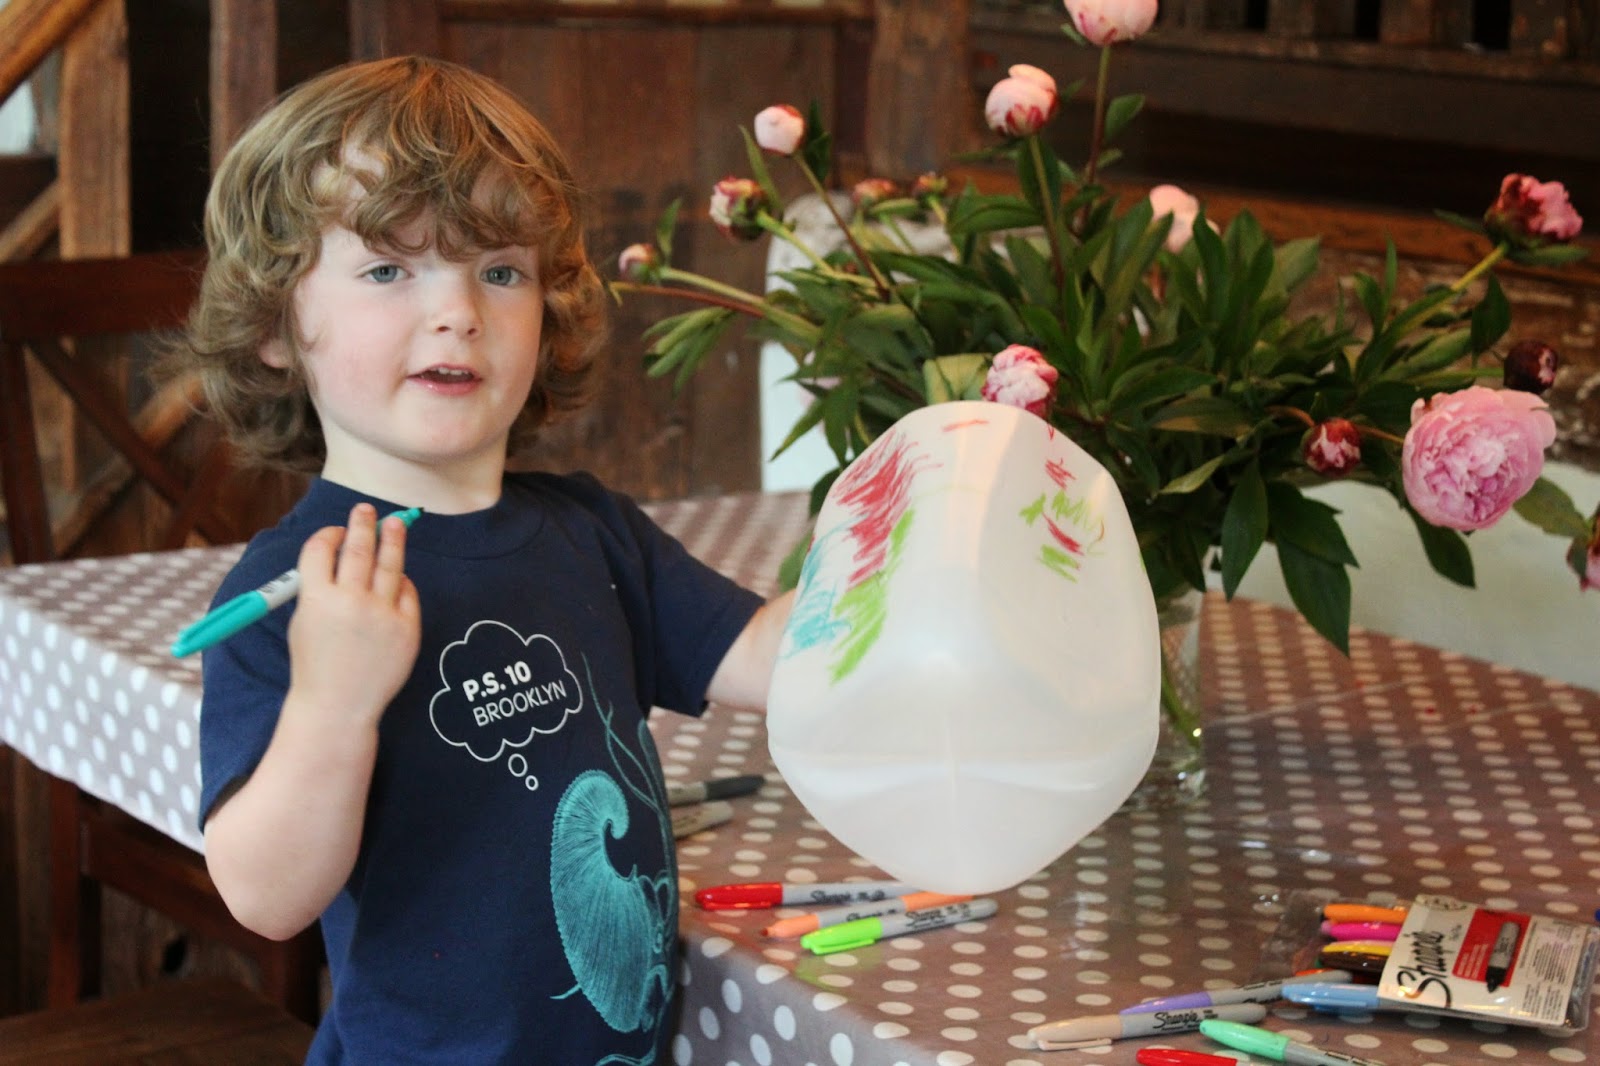
Now I handed it over to the boys for the very important job of decorating. We used sharpies, but stickers, duct tape, water proof paint would all work.


Step 4

Now despite the already very wet flower beds from the mornings rain we had to test them out. So we watered,


And watered,


And refill please,


And watered


Just a little more...


These were a big hit, four refills later my garden was well and truly soaked and now they can all help me water with no more fights. Plus if our crazy dog who you see in the last picture does destroy another watering can (highly likely) we can stick it in recycling and make another.