This project was so pretty hung in our window last Thanksgiving we enjoyed it as the leaves turned on their beautiful Autumn display right through until the snow lay on the ground and the outside had become a blank canvas waiting patiently for another Spring.

You will need:
Wax Paper
Old crayons
Thread
Stick from your yard
Warm Oven
Rolling Pin
Step 1
We selected a few old fall color crayons and peeled back the paper or removed it completely. Then carefully we grated the crayon into flakes onto the wax paper (my 5 year old managed this himself but I keep a close eye because graters are sharp).


Step 2
Once we had a good amount of the wax flakes we spread them evenly over the wax paper and placed a second sheet on top.


Step 3
The next step requires an adult, place the wax paper into a warm oven (200F) and wait about 5 minutes. Remove from oven and transfer wax paper where it can be rolled out.(You will want to place old newspaper or table cover under you in case the wax escapes at the edges.) Using the rolling pin roll out the wax, you will see the color splurging together. If the crayon does not splurge place on a tray in the oven for another 5 minutes.


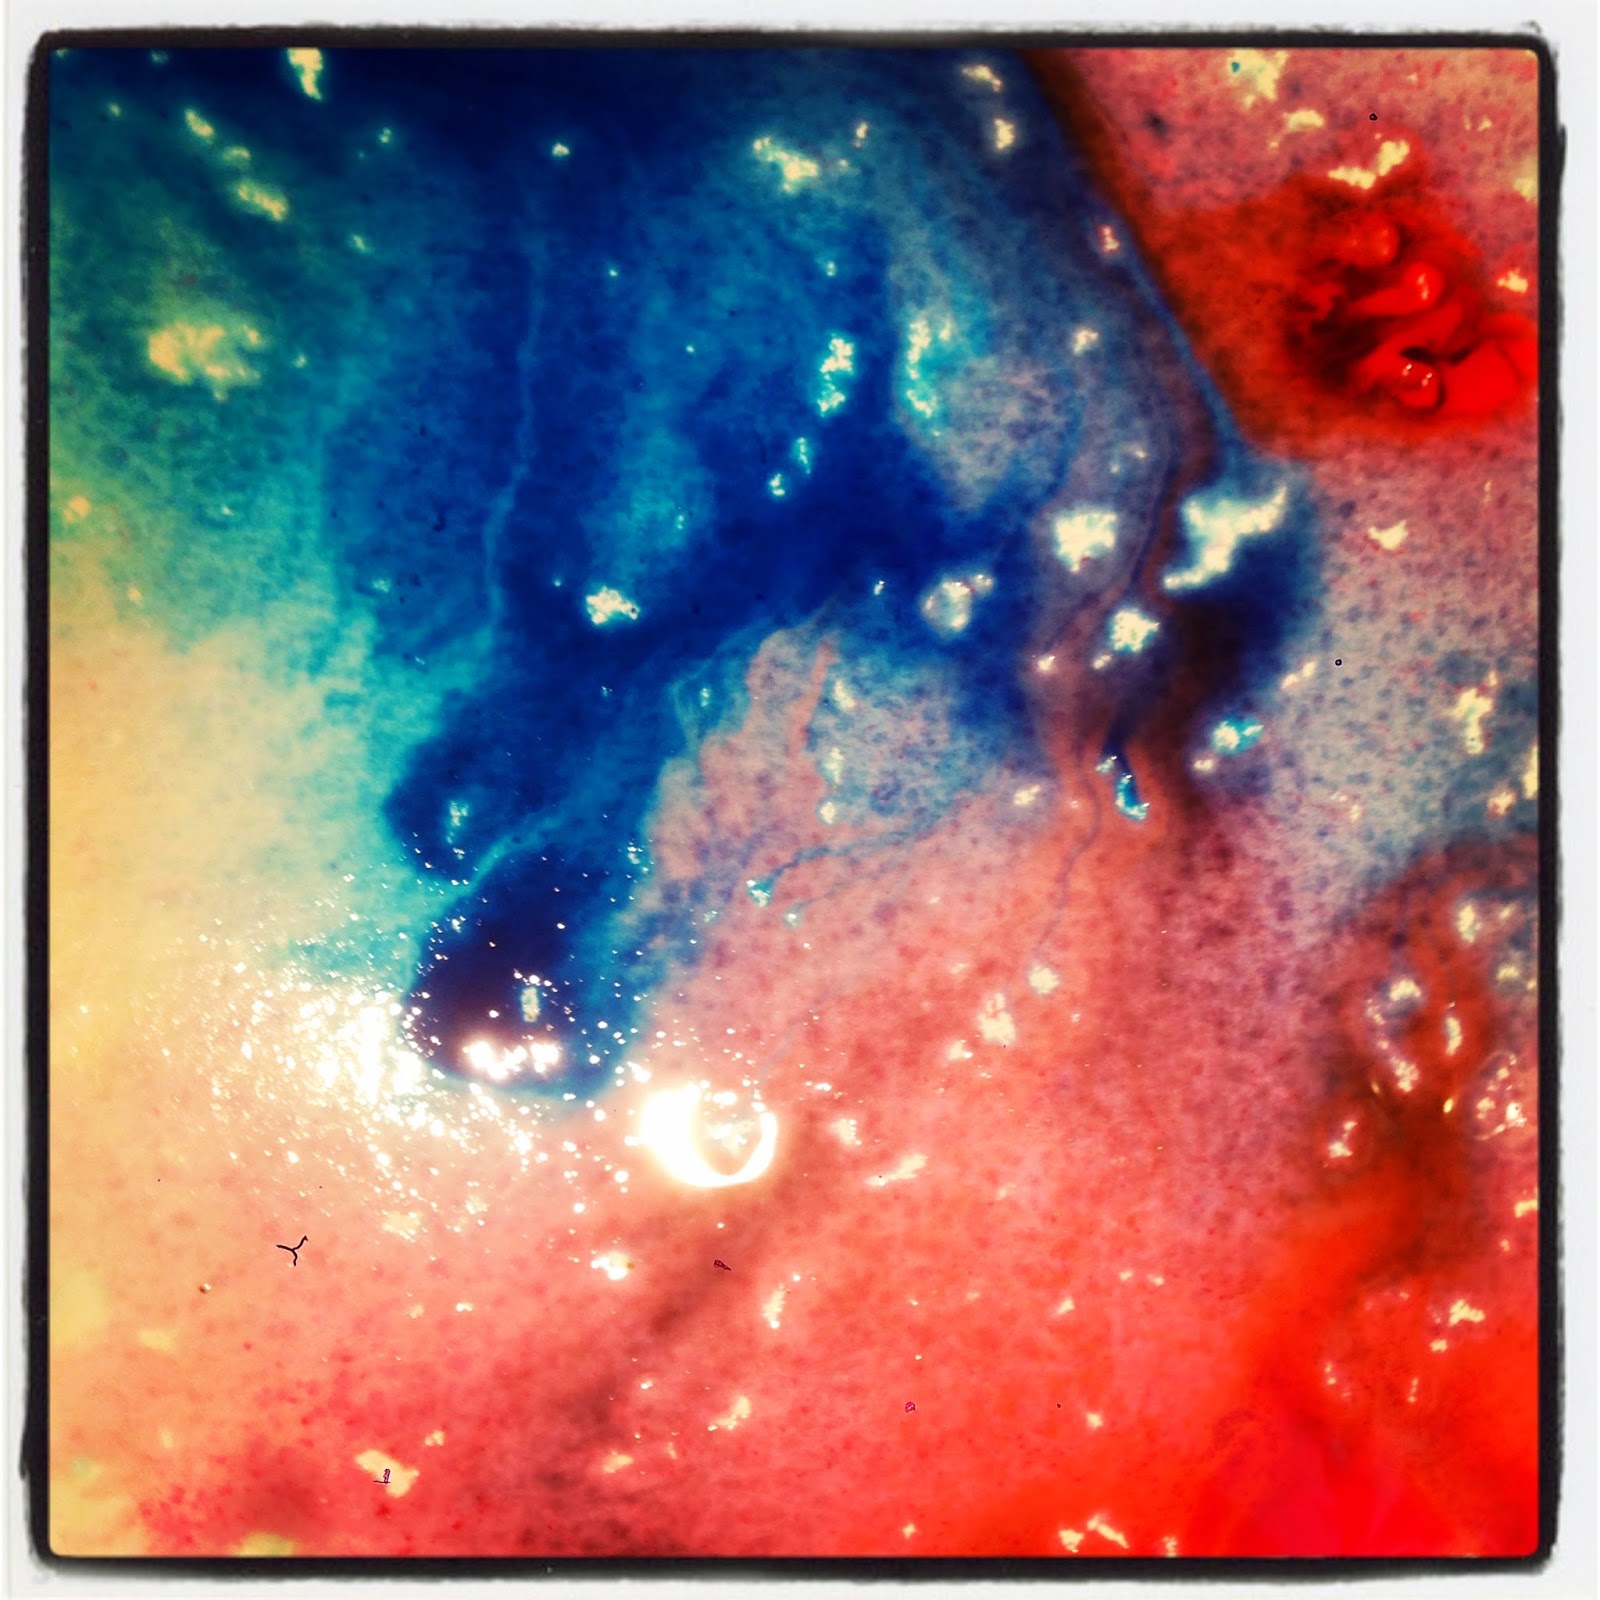
This picture below was an extra sheet we did just because D really liked the splurge picture and wouldn't let us cut it up. I must admit I think I see a ghostly figure in it!

Step 4
Mark circles over the paper and cut out. The wax might flake from between the paper if its cooled too much but don't worry you can always place the individual circles in the warm oven again to reseal.

Step 5
Once you have enough shapes cut out you can begin attaching them to the thread. We cut 5 strands varying lengths. One end of each strand we tied to the garden stick, we then taped a circle to the bottom of each strand of thread. After this we positioned the circles at various points in between.


Now just hang in the window and enjoy. What a wonderful way to bring the beautiful fall colors inside.