Tuesday, March 20, 2018

Egg Cup Fairy Garden


We are so delighted to be participating in the Spring HOP FEST over on Instagram this week, if you've not heard of HOP FEST it is a super awesome collection of creative ladies who have got together over early mornings/late nights and coffee to bring you lots and lots of crafty Easter and Spring goodness. It kicked off yesterday with four fabulous ideas and today we are happy to make up a quarter of the next four ideas with our Springy eggy fairy garden!

So as I began trying to decided what spring craft to make I struggled and struggled until I thought of what my kids would LOVE. We are HUGE fairy fans so making a mini fairy garden seemed like something they'd all want to do and egg cups made it the perfect Easter accompaniment. So if you'd like to try your hand at making your own tiny fairy garden read on.
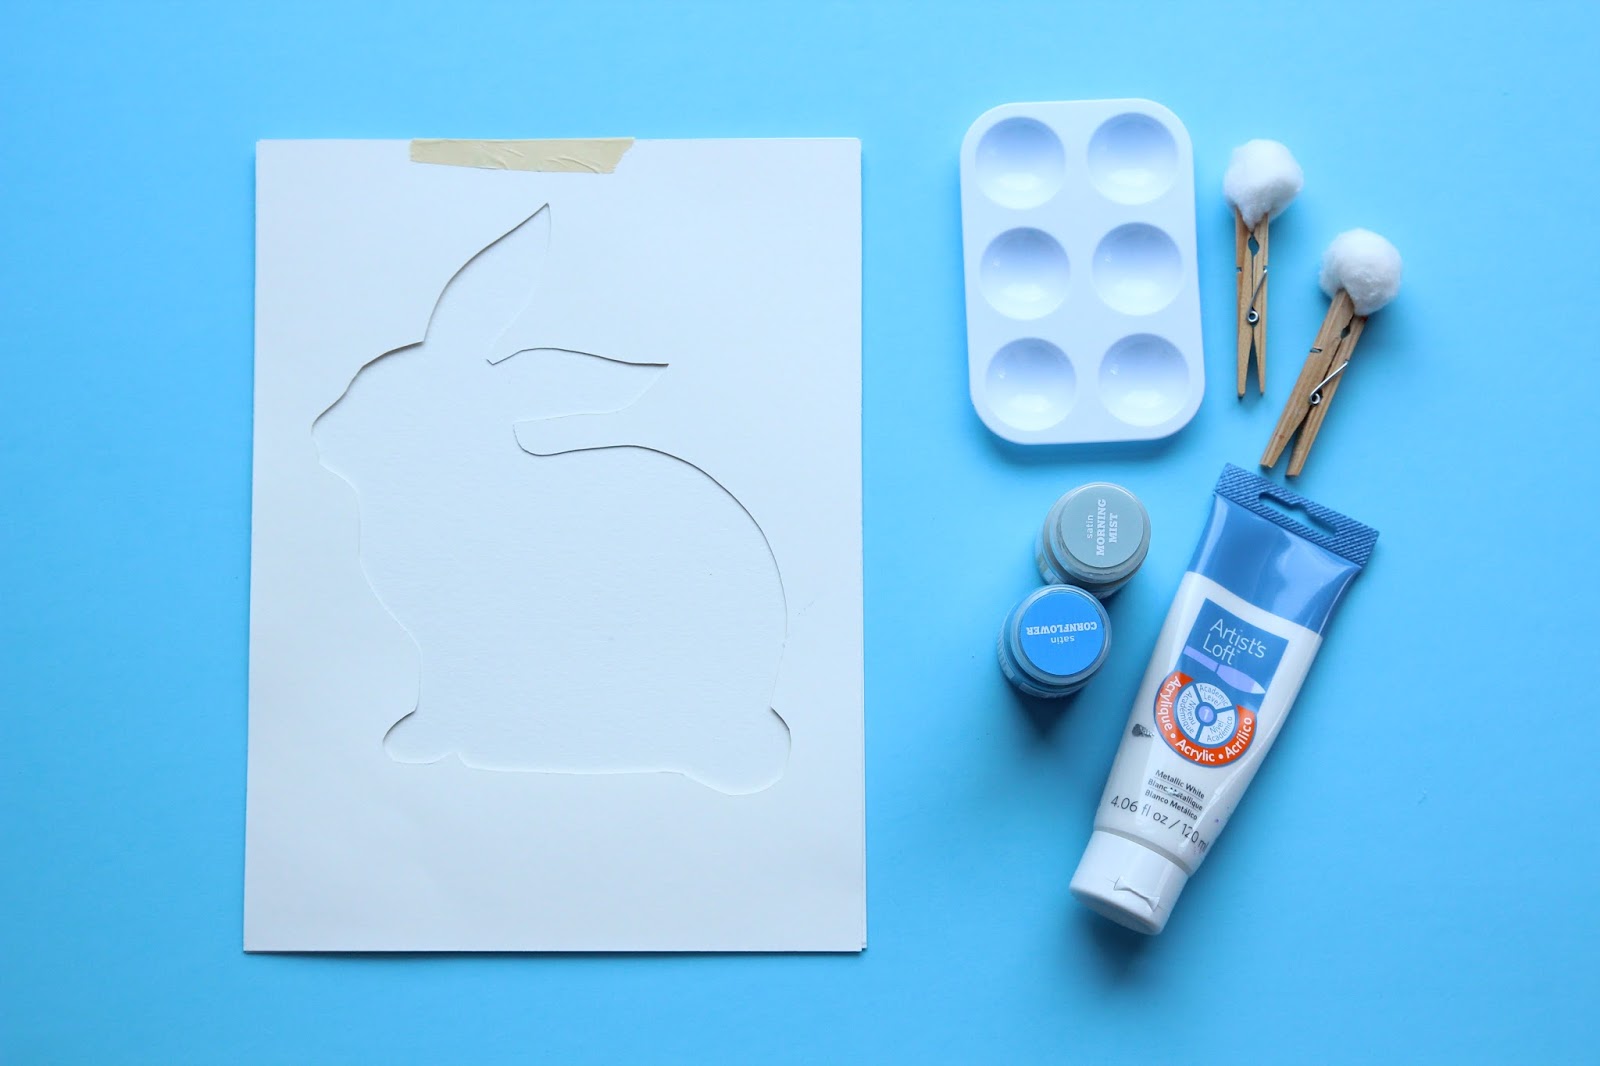


You will need:

White china egg cups or small bowls
Small succulents or other small flowers
Potting Soil
Pebbles
Acrylic Paint
Fairy garden accessories, tiny animals/toadstools


Step 1

Let your child decorate the egg cup. I gave each child three or four colors, I showed them how if they wanted to paint a stripe around the egg cup its easier to turn the cup and keep their hand still. We also used the end of a pencil to make dot patterns on our egg cups. If they make a mistake so long as your using a glazed egg cup you should be able to wipe off any mistakes quite easily with a piece of dry kitchen roll.


Once you are done painting leave your egg cups to dry completely before you start the next part.


Step 2

Once your pot is dry take your succulent and pot it up into the egg cup. If you can't get a succulent or small plant you could also plant cress seeds or grass but remember this will take a little longer to grow up before you can add the next pieces. If potting up a succulent you may need some additional potting soil to fill in any spaces left to make sure its nice and snug in its cup.


Step 3

Once you have potted up your plant give it a little water and then add the details. We placed tiny pebbles around the base of the plant.  


Next we added some little toadstools, ladybugs, paper flowers, tiny houses and rabbits. We picked all our miniature pieces up from the craft store and Amazon. Let your child decide what they want to add and where to add it, some will choose to add as much as possible and thats fine, let them design their minute garden for the fairies. show them how to add the things carefully without damaging the plant.


Changing the size of things is always a hit with the kids and these tiny gardens are no exception.


And your done. A tiny garden for the Spring Fairies to explore.


And when gardens are this tiny there is lots of space for them to multiply!!


And make sure you check out all the other fun Spring crafts this week over on the IG hashtag #HOP_Fest


Thursday, March 15, 2018

Birds on a Wire


This project was one of those that evolved directly from the recycling bin. I was about to throw away the cardboard trays my veggies had come home in and I just couldn't they were too perfect for something I just didn't know what yet so I started saving them. (I have slight hoarder tendancies anyone else?)   Anyway the stash of cardboard trays starting adding up and I decided we had to use them. I'd decided that they made perfect frames for some box pictures so I introduced the children to the idea of layering. We talked about how items are in the foreground and the background. In this case the subject was going to be the birds on the wire and the back ground 


You will need:

A food tray or piece of cardboard
Wire
Scissors
Sharpie
Glue
Paint - we chose sunset colors


Step 1

Begin by letting your child paint the background - think landscape or sky, we opted for a sunset so I gave them a limited color palette and encouraged them to think about the colors they see at sunset and to blend and mix the colors together just as they do in the sky.


Step 2 

Print out the pdf of the birds (you may need to adjust the print size on your printer to make the birds fit inside whatever cardboard container you are using. Once you have printed out the template have your child color the birds with various black and white patterns - think dots, lines, zentangle  you name it.


Once you have decorated your birds cut them out and glue a piece of wire along the back of the birds - make sure the wire is long enough to run the length of the cardboard. 


Step 3

Once your glue on the back of the birds has dried take each end of the wire and thread or glue it to either side of the cardboard. The birds should float above the background on the wire.


Step 4

All thats left to do now is flip the picture over and glue a hoop onto the top of the picture so that you can hang it up easily on the wall. We used a pipe cleaner for this.


Turn it over and your set.


Enjoy your multi dimensional picture, now I'm thinking what can I do with the other 50 cardboard trays!!


Tuesday, March 13, 2018

Cottontail Rabbit Painting


It is hard to believe Spring is right around the corner as I sit here in Connecticut with snow falling again - its March 12th!  At this rate my kids will be digging for their easter eggs in the snow. However, despite the freezing temperatures and bright white fluffy stuff falling all around me I know that Easter is just a couple of weeks away and this simple Bunny art makes a fun painting activity for your little one and leaves you with a wonderful piece of artwork to hang on the wall this Spring.


You will need:

A bunny stencil - we created this by printing off a print of a bunny online and tracing the outside edge.
Exacto knife
Mixed Media/watercolor paper
Paint 
Pegs
Cotton balls


Step 1

Have a grown up cut the bunny shape out of a piece of thick paper stock or card. We used an Exacto knife but scissors are great if you don't have a knife, just remember not to cut through from the outside of the paper.


Once you've cut the rabbit shape out of the paper tape it to the top of a piece of thick mixed media paper.


Step 2

Set out paint, I let each child choose three colors. I recommend you try to avoid mixing the three primary colors if you don't want a muddy bunny. For examples think using yellow/blue/green or pink/red/white or blue/grey/lilac.

Now instead of brushes take a cotton ball and peg and create a brush. For a bit of fun I told the children the cotton balls were rabbit tails (one little boy did look at me quite disturbed until I whispered we were just pretending in his ear lol).


Taking the cotton ball tell the children to hop like a bunny over the paper. Encourage them to fill the whole space with the three colors, its fine if they go over the edges the template will give you the rabbit when you lift it up.


Step 3

Once they are all done painting carefully lift off the stencil to reveal your bunny - wait for the ooh ahh the kids really love this moment and are always so delighted to see their finished rabbits.


If you want once the paint is dry glue a clean cotton ball to the rabbits tail.


These pictures are sure to delight both the Moms and kids. I'd like a couple framed myself to decorate my Dining room wall this Easter.


Welcome Spring!