
Do you ever sew with your kids? I started sewing simple projects with my girls when they were younger and it kind of got them hooked. The excitement that comes from realizing that they can actually MAKE something all by themselves is priceless. We had completed a few basic sewing projects mainly involving items for their American girl dolls prior to last year when I accepted a request to participated in the 'Sew a Softie' Event organized by the talented Trixi from www.ColouredButtons.com. If you are yet to discover Trixi she is a sewing teacher in Australia who has lots of amazingly simple sewing projects for kids great for the most beginner sewer. The girls LOVED everything about making their own softies, you can find their butterfly softies from last summer here or search for the Christmas Softies and Valentines things they made.
So as you can imagine we were delighted to participate once again in Trixi's Sewing Event for the Summer 2017. This year as veteran sewers the girls were asked to be Ambassadors and to teach someone else to sew during the month of July. They came up with the following project and their first sewing guinea pigs were their bothers - They are hoping to teach their friends how to sew these fun Softies too though!
So here we go, heres a very loved tea towel softie proving you can make something out of pretty much anything. They recycled these tea towels into fun toys for young kids. They left the dangly legs and floppy hair because "We know little kids like twiddling things as they cuddle them".

Big Sister teaching little bro (age 6) the running stitch

Ella teaching little brother (age 8) how to stop his thread tangling up

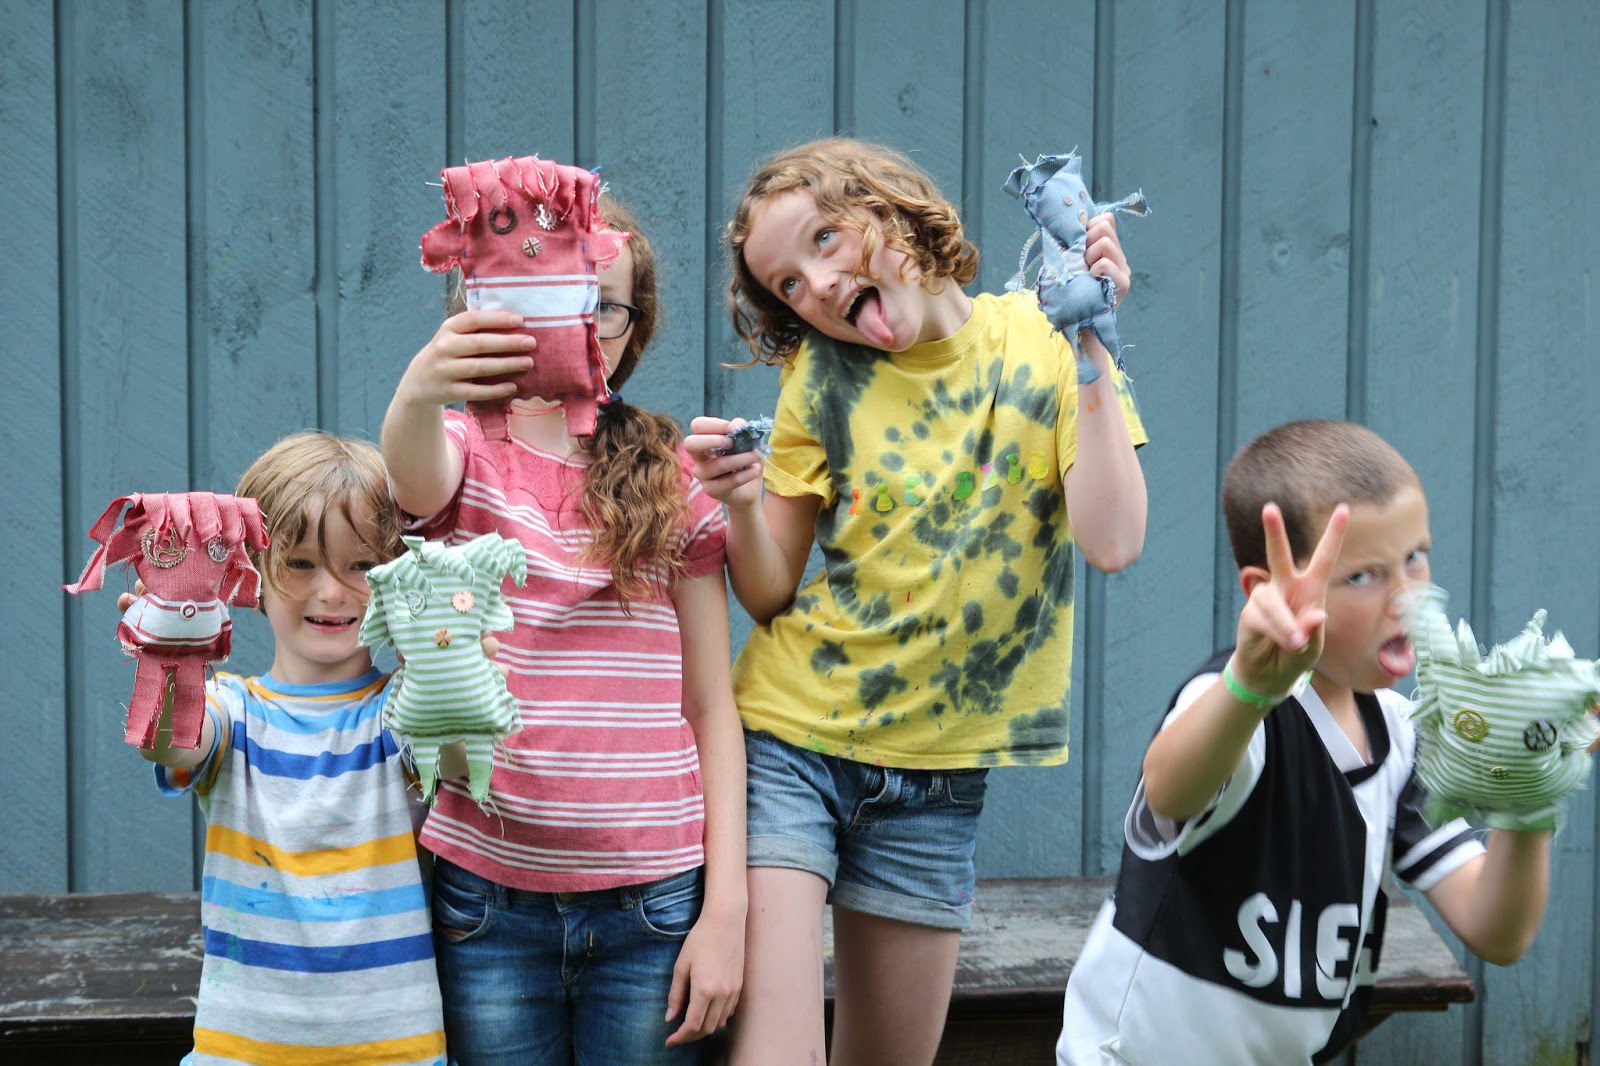
Lots of Softie silliness

HOW TO MAKE YOUR OWN
You will need:
Tea towels
Embroidery Thread
Stuffing
Scissors
Buttons or bits to decorate

Step 1
Fold you tea towel in half, then fold it in half again as shown below.


Each tea towel makes two softies but by folding it this way it helps with the measuring of the softie. Now taking a pen draw a rectangle shape on the quarter of the tea towel facing you, the top of the softy is going to be where the fold is - this is important because when you cut the hair you want the loops to be at the top. Draw on two arms and legs that meet the edges of the fabric.

Once you have drawn the shape you can cut it out. You only need to cut through two layers not four so remember to half open your tea towel up.

Step 2
Once you have cut around your shape you should be left with a shape similar to that pictured below. Note the head still loops over, this helps to keep the fabric lined up as you begin sewing.

To begin sewing the girls used a simple running stitch. Up, down, up, down and so on. We started sewing the head first, do this an inch or two down from the fold you'll see why later when we make the hair.


Once you have gone across the top sew down the side and around the bottom of the shape. No need to sew around the arms or legs for this project - you are just sewing a rectangle. But remember to leave a gap at the end to stuff the filling in!!!


Stuff the body of the softie with the poly filling, no need to make it rock hard they are more fun a little floppy. Once it is stuffed finish sewing up the side and tie off with a knot.

Step 4
At this point we added the details, we hot glued on buttons and cogs to create interesting faces.

We also cut the hair, you do this by making short cuts across where the fabric loops at the head. (Remember when we said to leave a gap at the top of the head this is why.) This creates your softies floppy hair style.

And you are done!!