Showing posts sorted by date for query candle. Sort by relevance Show all posts

Wednesday, November 28, 2018

Christmas Countdown 2018


Can you believe December is right around the corner? I am in complete disbelief because November shot by quicker than grease lightening! I may still have 90% of my shopping to do, christmas cards to write and a tree to pick and decorate but guess what? I have finished our Christmas Countdown Calendar (priorities right?) and as so many of you said how much you loved following along with last years countdown I thought I would share this years with you all too. Its revamped, we kept some of our favorite pieces because my kids LOVE traditions and I've added a few new surprises.  Just like last year you can download it for free right here and now.   Your going to want to pop back to this blog for a few of the activities as we go through December because I'll be adding a couple blog posts to go along with a couple of the days - I will pop the posts up a day or two before you need the information and share them on Instagram too so follow along with the #bluebarnchristmas hashtag.

So what do you need right now? Well all you need is this link to get yourself a copy of our countdown printed 4 to page ready to cut out and add to your advent calendars or alternatively print it out slightly larger and create a desk calendar by printing this PDF instead with the days 2 to a page and slightly larger.


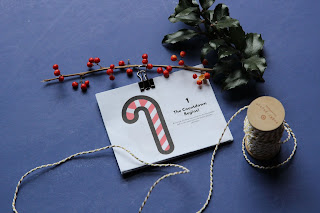
Below is an example of our daily desk prompts.


And here is the smaller size printed mounted on to a board with tiny pegs to create a daily countdown.


So what do we have this year? Everything from decorating Santa's beard to creating your own kid friendly wrapping station to visiting an elderly neighbor and spreading Christmas Cheer. And remember its not meant to be stressful these ideas are fun prompts to create holiday memories, if you miss one day because your busy or your little one just isn't interested don't stress about it just save it for a different day or even file it away for a cold day in January and dig it out then instead!

December 1

Print out your Blue Barn Christmas Countdown and find a way to display it for the kids.

December 2

Write a letter to Santa, set out paper, stickers, pens etc and have your child write Santa their wishes. Don't forget to mail it!

December 3

Whip up a big batch of Peppermint Playdoh, add rolling pins, cookie cutters, sprinkles the works its time for a cookie workshop.

December 4

Decorate Santas beard. You've seen the new trend for glitter beards right? Well why not Santa, pop to the Blog December 3rd because I'm sharing a fun blog post complete with a printable to give Santa the jazziest best beard in town.


December 5

This was one of my kids favorites from last year, I packed up a big thermos of hot chocolate and took it into the woods along with a blanket, candy canes and marshmallows. It doesn't have to be the woods, your backyard, the beach, a local park just get outside if you can. And if its hot and sunny where you live why not replace it with chocolate  ice-cream and pretend its super hot or if its raining make a hot chocolate picnic somewhere unusual in your house.


December 6

Planting Paperwhites - my favorite Christmas flower and a great activity for children to see the bulbs grow into plants because its quick and the roots can also be seen. So they they can get an idea of what goes on above and below the soil. To see how to plant paper whites visit this blog post of ours.


December 7

An act of kindness. So important for children to think of others during this holiday season so they can truly gain an idea of giving. Have your child think of a kind act for a neighbor or a stranger.  Cant think of something to do I like to have my children pack a Samaritan Shoe Box for more info see this website in the US.

December 8

Decorate a Christmas tree.  Why not have a small tree your children can decorate all by themselves? Don't have a small tree try drawing one on paper for your children to color and decorate with stickers, beads, pipe cleaners, glitter etc.

December 9

Christmas card making.  Set out card and all the bits to create some gorgeous homemade cards for the special people in your lives. Handmade is always best.

December 10

Dress an elf today. Check out our fun blog post today as Elfie gets a set of new clothes.

December 11

Holiday Slime Time, so my kids wouldn't let a christmas craft marathon pass by without a little slime play. Red or white, glitter or candy canes a slime making sensory session is needed.

December 12

Christmas books. There is nothing better than curling up with a good book, so take a trip to your local library fill your bag with all the holiday books you can find and then come home, snuggle up and have a big readathon together.

December 13
A candy cane bath. Another favorite from last year, run a warm bath, add a few drops of peppermint oil and some bubble bath. Then quickly pop in some red glow sticks before turning out the lights! It won't disappoint!

December 14

Spread Christmas cheer. Carol singing, visiting an elderly neighbor and baking them some Christmas cookies, or maybe just wishing everyone that passes you by a Merry Christmas! 


December 15

Decorate a gingerbread house, store bought or homemade spend time as a family decorating it together. 

December 16

Create your own Christmas instruments, scented sleigh bells, or nutcracker drum. Then sing christmas songs loud for all to hear. 

December 17

Set up a wrapping station for your little one tissue paper, tape and scissors along with objects to wrap up, blocks or small toys. let them wrap and unwrap as much as they like. Have older kids? Why not put out some ribbon, card, stamps and ink, pens, sprigs of holly etc as an invitation to create their own gift labels and embellishments.

December 18

Snow Play, no snow no problem mix up a batch of fake snow and set up your own North Pole Winter wonderland to play with.

December 19

Take a walk or stroll around your neighborhood after dark and take in all the Christmas lights. 

December 20

Lets feed our feathered friends today, try your hand at making some simple feeders feeders out of pine cones or go for something more fun and create one of these gingerbread bird houses.

December 21

The solstice is here, lets create a solstice candle if you'd like to read how we make ours see how to here

December 22

Its time for a Christmas movie, pick a good one, get your PJs on, pop some popcorn.

December 23

Time to mix up some reindeer food - we like oats, raisins and a little bit of fairy dust (glitter) be sure to sprinkle it outside your house on christmas eve so the reindeer know where to land!

December 24

Yippee its christmas eve, time to leave Santa a special treat to eat. Take one last look out the window for his sleigh and get an extra special early night.

MERRY CHRISTMAS ONE AND ALL

Wednesday, December 21, 2016

Winter Solstice Candles


Happy Winter Solstice

It is so good to think that from here on out our days are getting longer, every day (well here in the North anyway)  we will be moving closer to summer. Depending on how far north of the equator you live you will be effected by greater or lesser extent. I recently read that ancient people thought during the long dark days of winter the sun was going away for good.  They became concerned that they would have to live in perpetual darkness. No wonder so many religious holidays fall around this time of year and celebrate with lights, the transition to longer days is something to celebrate and light becomes the obvious symbol of hope in the darkness.

So today we are going to be making something I remember making as a child. We will be making orange pomanders. They are incredibly easy to make and smell SO good, often they are just decorated oranges so if you want to leave the candle out and just use them as a room decoration you can and they make your home smell wonderful. But given its the solstice and we've been talking about light we will be adding candles to ours.


You will need:

Oranges
Cloves
Ribbon
Glue or as we used glue dots
A small candle


Step 1

Begin by gluing the ribbon around the orange in whichever direction you choose to go. 


Step 2

And this really shows how easy it is, begin sticking the cloves through the orange skin using the spiky end of the clove.


Continue this moving around in a circle. 


Or a line.


The way you choose to decorate with the cloves is completely up to you. Some go for maximum coverage. Others a patterned design.


Step 3

Cut away the skin at the top with a  sharp knife if you are going to add the candle. 


And your done all thats left is for the candle to be lit and the subtle smell of oranges and cloves enjoyed on this Winter Solstice.


Tuesday, January 13, 2015

Stars at Night

Exploring the night sky with a Star Nightlight


When my girls were young and we were living in Brooklyn I started a group called Little Hands Art, the group would meet each week with our children who ranged in age from baby to about 3 years old read a story/learn a song and make a related craft. It was great, I made some of my best Mommy friends here, the kids socialized, we talked and the kids got creative. So as I started blogging again this year I thought it would be fun to encompass this idea once a week into one of the posts I write. The idea being to highlight a book or two, talk a little about the book and then share a craft inspired from what we've read. 

So for this first week I decided to choose two of D's and my favorite books. 

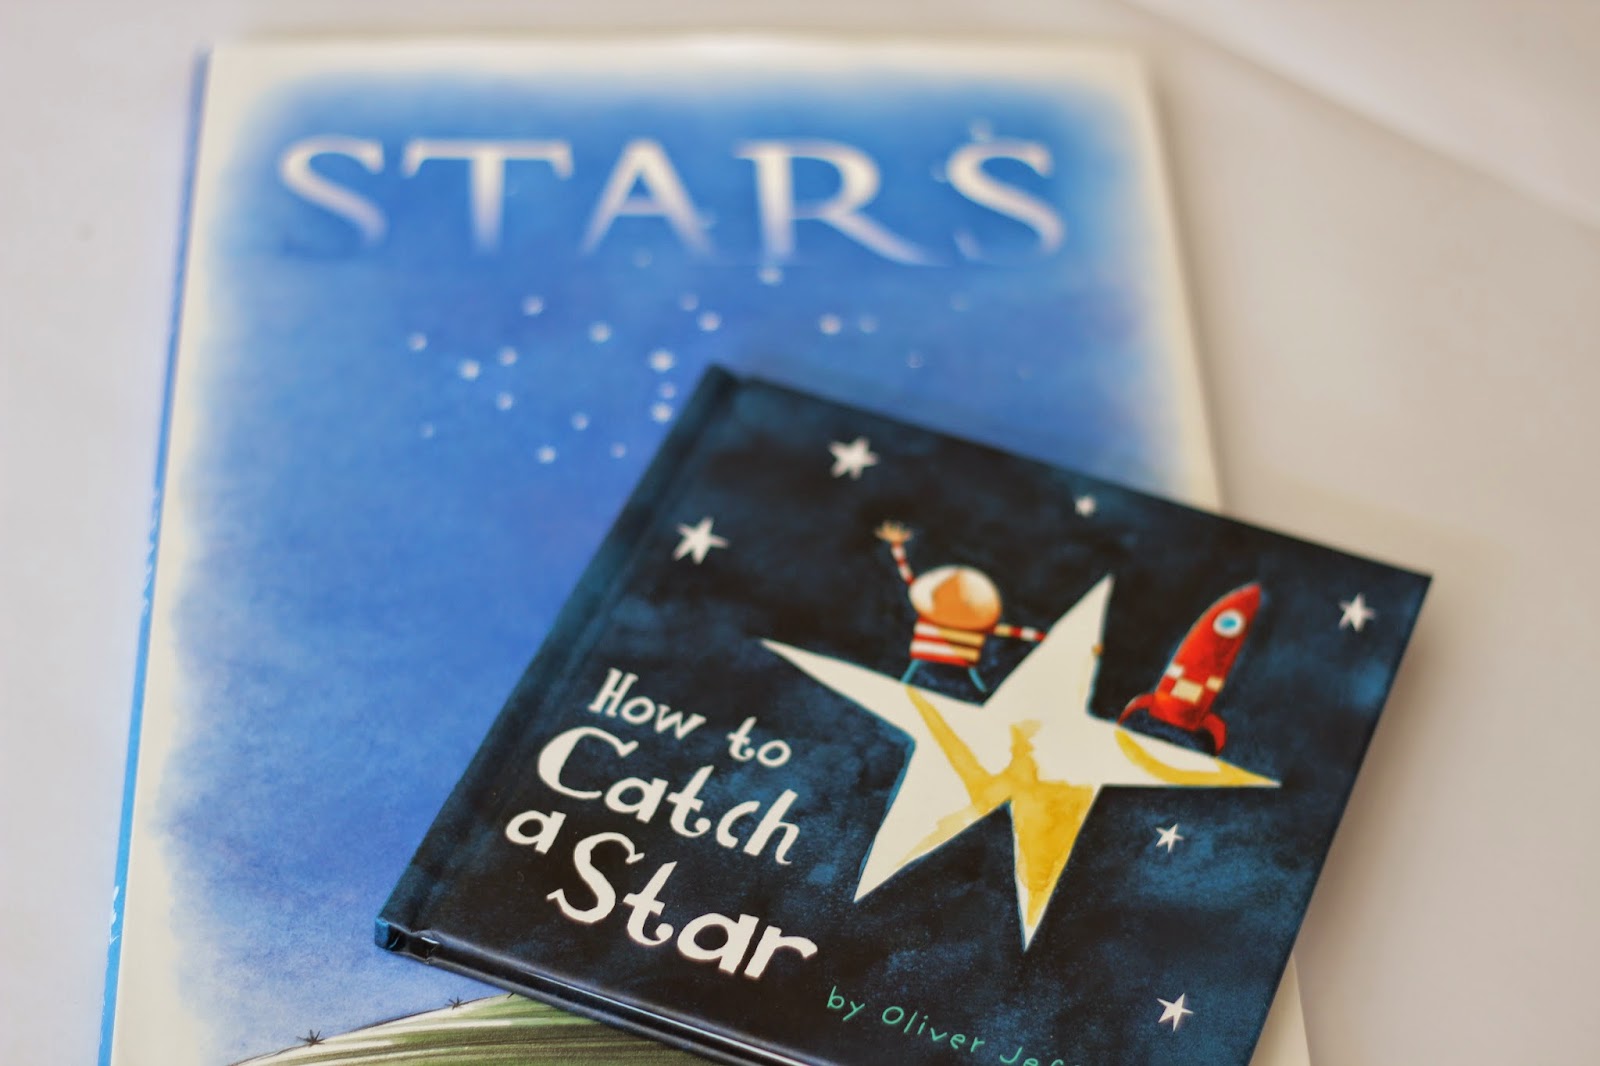
We chose 'Stars' by Mary Ray & Marla Frazee and 'How to Catch a Star' by Oliver Jeffers both available on Amazon (Not affiliated).

If you haven't come across these before I highly recommend them both, they are beautifully illustrated books (in fact I think Oliver Jeffers is one of my favorite children's writers) and both stories follow children who LOVE stars very much and would like nothing more than to capture a star of their own. 

D likes them because the kid loves space. Stars, planets, the moon, aliens, spaceships and robots you get the picture and this is why these are some of his favorite stories.


In the book 'Stars' the reader is invited to 'make a special star to keep in your pocket' and while the story takes you on a journey showing you all the different places you may find a star in the world around you it reminds the reader to never give away the special star you keep in your pocket. The story ends with a night sky lit with fireworks and reminds the reader that even when you can't see the stars anymore they are still there.

In the book 'How to Catch a Star' the little boy after failing to reach the star himself comes up with a plan to capture one. The story flows very sweetly through the thoughts of a child and ends when the little boy finds a star all of his own on the beach.

After reading these books with D I asked him to look at them again because we were going to recreate the night sky.


You will need:

Water colors
Paint brush
Water color paper
Salt
Pin / Needle
LED light / flashlight

Step 1

We began by brushing the entire piece of paper with water. Not soaking it but it should all be wet.


Then I asked D what color the night sky was, he looked again at the books and then began using the dark blue, purple and black paint.


You want to have them completely cover the paper without creating any pools of water.


Step 2

Once the painting was complete I had D sprinkle salt over the wet paint. When using water colors sprinkling salt creates a great texture effect as it dries which is perfect for the night sky. It is best to use this effect on darker colors as the salt absorbs the color where it lands and creates a lighter spot on the paper.

I had D sprinkle the salt all over his picture, he loved this part but tried to limit it somewhat as this is one of those times where less is more and I didn't want him to over do it.


We then left the picture to dry.

Step 3

Once the paint was all dry I helped D brush the salt from the picture. As you see below with the before and after picture, it leaves the perfect effect for the night sky.

Before brushing off the salt


 After we had brushed off the salt


We could have worked on it like this but I had already decided I wanted it to 'shine' for him.

Step 4

The next step was to make lots of tiny white holes in the paper so the light could shine through the paper. To do this I had D poke a pin into the paper, he got done with this step pretty quick so I helped him out.


Step 5

After we had enough holes poked into the paper I rolled it into a cylinder shape with the painting facing out and secured it with a stapler.


Step 6

Heres when the magic happens, his little face was enthralled. We placed an LED light inside the tube (I had a bright flameless candle left from the holidays, a small flashlight would also work). 

D loved how the light shone through just like a starry sky at night.


We took it into the dark, even better. 


I love how the different paint colors, salt marks and holes all give extra depth making it far more like a galaxy full of stars.


How pretty is that? D was super excited with his new night light tonight


No wonder so many artists and scientists were guided by the stars they are so beautiful.


"For my part I know nothing with any certainty, 
but the sight of the stars makes me dream."

Van Gogh

Tuesday, February 11, 2014

Soap Decorated Candle


A good friend introduced me to the wonders of Ivory soap and its many uses outside of cleaning when we first lived here. It was something I hadn't come across growing up in the U.K, so sorry if you are trying to recreate this out of the States. (If anyone knows what you would use out of the U.S please post in comments.)

This project requires Ivory Laundry Snow Soap Powder, you can pick it up in most grocery stores but heres an Amazon link if you need it.

You will need:

Ivory Snow Laundry Soap
Candles
Water
Glitter and Sequins (Optional)


Step 1

To begin mix about 1/2 cup of the ivory soap with a little water, you will want to add the water slowly and stir to form a thick paste. Add more water or soap as needed. Once it is the right consistency roll the outside of your candle in the mixture.


Step 2

Once the outside is well covered you can sprinkle with glitter and add any other decorations you have. Sequins, sparkles, shells, beads, at Christmas we add Pine and Holly sprigs or tiny pinecones.


You are done, leave upright on a plate to dry, it doesn't take long.


Beautiful and oh so simple, the best bit is all the mess is soap which makes clean up easy. I have made these at class parties as young as PreK, today was due to be in E's class but as she is still home sick we got to do it 'just us' instead.


Always remember to never leave a lit candle unattended.