Wednesday, October 1, 2014

Halloween Ghost Garland


Feeling spooky yet? My kids are itching to put up all our Halloween decorations but I always try and make them wait until October. I did however cave this past weekend and had the girls help make a new Halloween Garland to go above our fireplace and I couldn't resist putting it up when it was done, there is no arguing in this house where they get their holiday spirit from...I love Halloween.


You will need:

1 Batch of our white clay 
Orange Paint
Glow in the dark paint
Halloween cookie molds
Baking Parchment
Twine
A straw


Step 1

Preheat oven to 170F

After making our White Clay recipe we kneaded the cooled dough and began to roll it out between 2 sheets of baking parchment this helped prevent it sticking to the rolling pin.


Step 2

Once the dough was about 1/4 inch thick we began cutting out the shapes, we chose to have pumpkins and ghosts. The cut shapes were placed on a cookie sheet ready for the oven.


Continue to Knead and roll out dough until you have as many shapes as possible. We managed to get 9 shapes with our cookie cutters.


Step 3

Using the straw make a hole in the top of each shape, this is really important to do before you cook the dough, you won't be able to once it is hardened.


Place cookie sheet in oven and bake shapes for approximately 2hrs. You may want to turn half way to help clay dry out. Once hard remove from oven and place on cooling rack.


Step 4

Once the shapes have cooled you can paint them. My girls decided to paint the pumpkins orange and the ghosts with a glow in the dark paint.


We gave each two coats of paint.

Step 5 

Once the paint was dry we threaded each shape onto a piece of twine and tied a loop. We then threaded these onto a longer piece of twine and spaced them to hang as a garland.


So pretty, now I guess I will have to get the other decorations out...


And in the dark...Spooktacular!


Tuesday, September 30, 2014

Fall sun catcher mobile

This project was so pretty hung in our window last Thanksgiving we enjoyed it as the leaves turned on their beautiful Autumn display right through until the snow lay on the ground and the outside had become a blank canvas waiting patiently for another Spring.


You will need:

Wax Paper
Old crayons
Thread
Stick from your yard
Warm Oven
Rolling Pin

Step 1

We selected a few old fall color crayons and peeled back the paper or removed it completely. Then carefully we grated the crayon into flakes onto the wax paper (my 5 year old managed this himself but I keep a close eye because graters are sharp).


Step 2

Once we had a good amount of the wax flakes we spread them evenly over the wax paper and placed a second sheet on top. 


Step 3

The next step requires an adult, place the wax paper into a warm oven (200F) and wait about 5 minutes. Remove from oven and transfer wax paper where it can be rolled out.(You will want to place old newspaper or table cover under you in case the wax escapes at the edges.) Using the rolling pin roll out the wax, you will see the color splurging together. If the crayon does not splurge place on a tray in the oven for another 5 minutes.


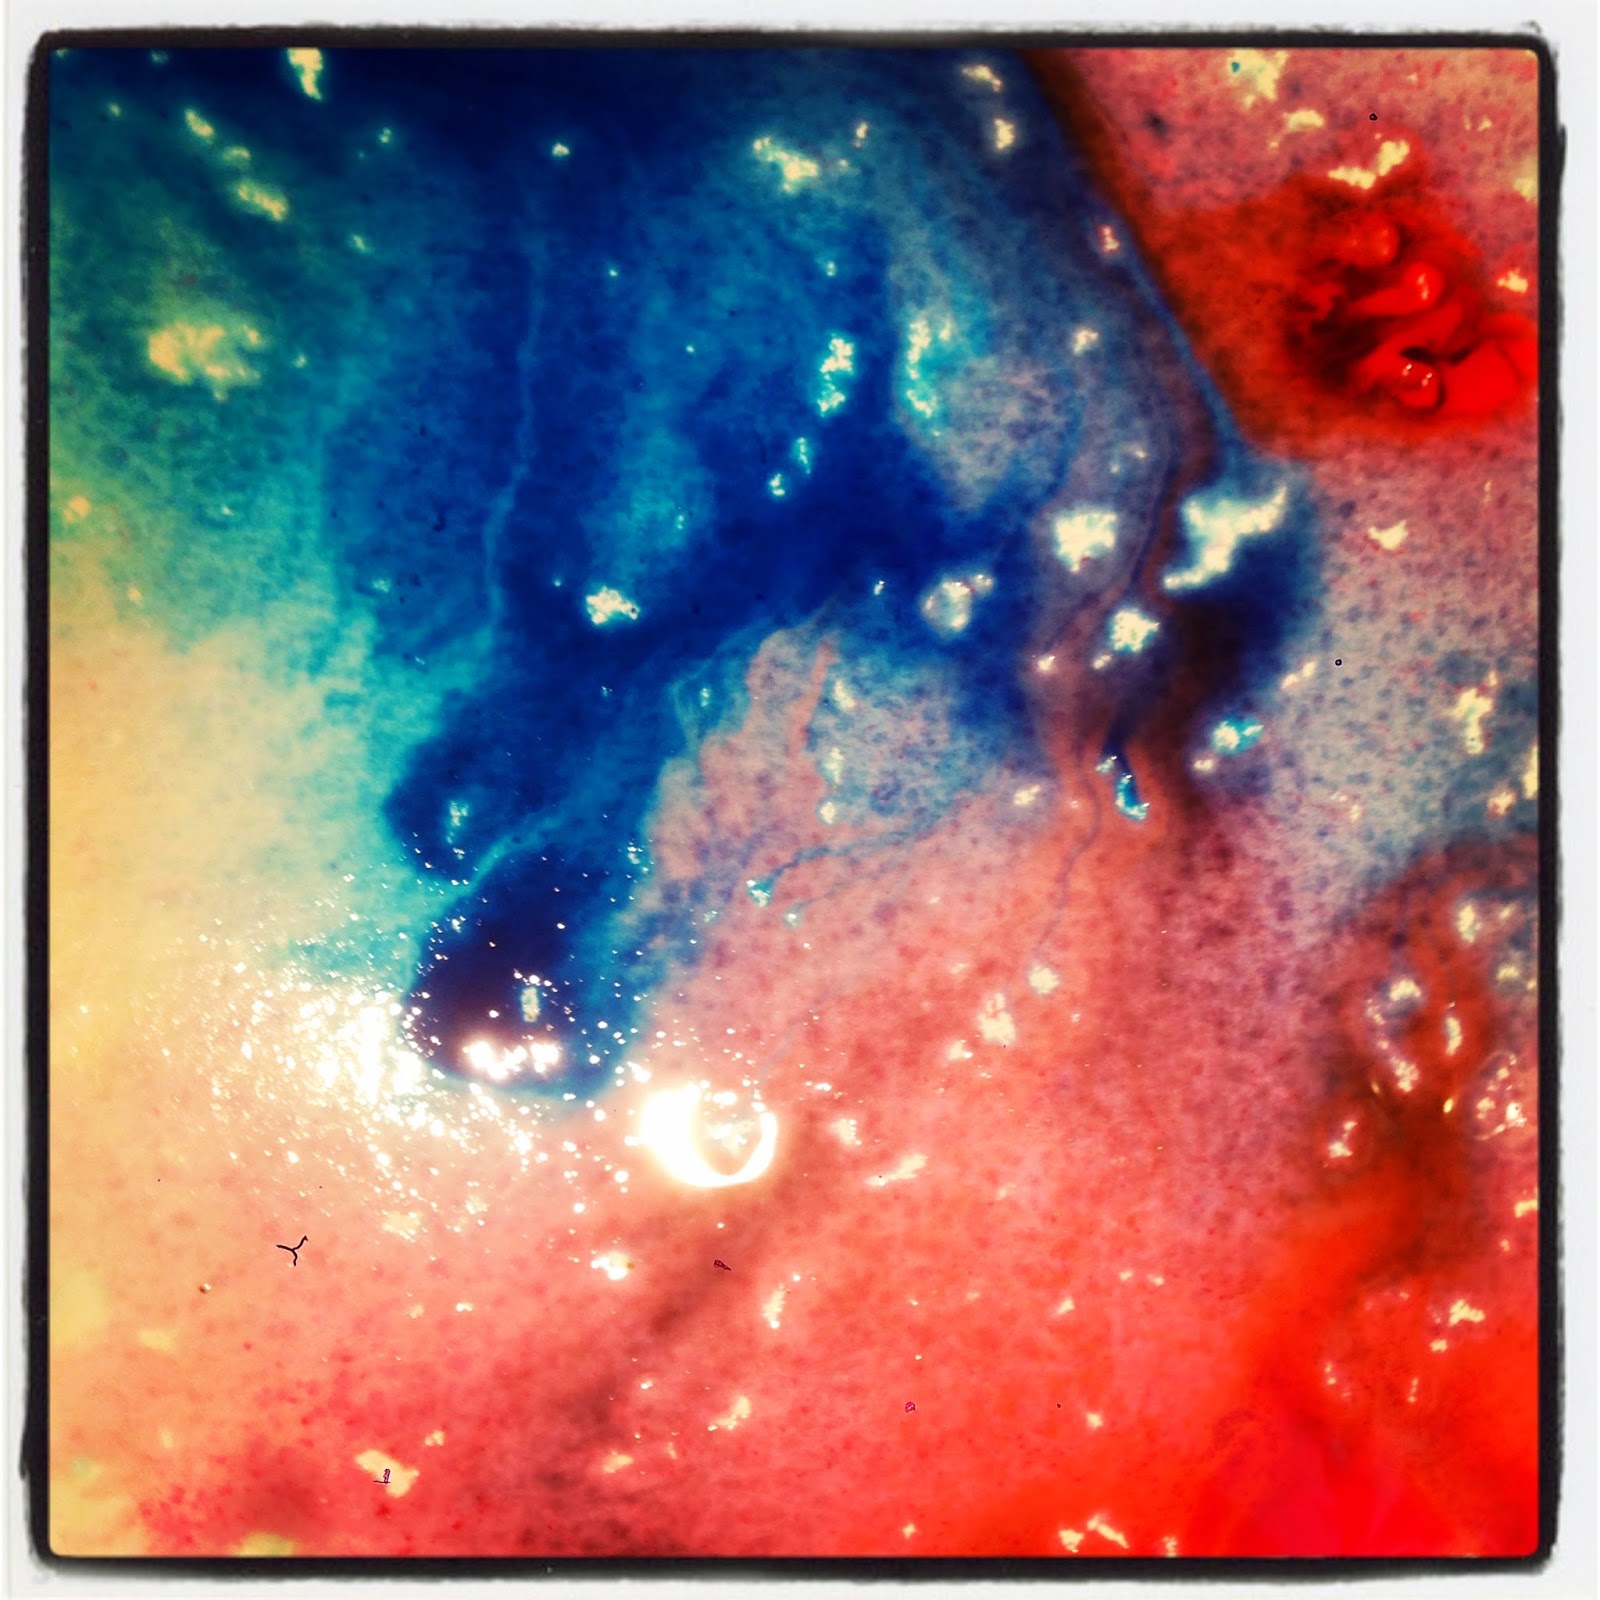
This picture below was an extra sheet we did just because D really liked the splurge picture and wouldn't let us cut it up. I must admit I think I see a ghostly figure in it!


Step 4

Mark circles over the paper and cut out. The wax might flake from between the paper if its cooled too much but don't worry you can always place the individual circles in the warm oven again to reseal.


Step 5

Once you have enough shapes cut out you can begin attaching them to the thread. We cut 5 strands varying lengths. One end of each strand we tied to the garden stick, we then taped a circle to the bottom of each strand of thread. After this we positioned the circles at various points in between.


Now just hang in the window and enjoy. What a wonderful way to bring the beautiful fall colors inside.


Wednesday, September 24, 2014

Painting With Rain

My kids are outside rain or shine its one of my favorite things about moving from an apartment in the city a few years ago to a house with a yard. This means they get even more excited when I suggest things like 'painting in the rain', its totally process art and SO simple I had my three year old in mind when I suggested it but the older three totally owned this one! A fun project to try on your next rainy day.


You will need:

Paper - water color paper works best
Food coloring
Rain

Step 1

Set a couple of sheets of paper on a tray/cookie sheet


Add a few drops of food coloring, we used two colors on each sheet. As a note its best not to add too much because the rain spreads it really easily and if the food coloring is too thick it will not dry well.


Step 2

Let the rain do the work. The wetter the paper gets the more the colors run and splurge together. Its great for learning color mixing.


The kids quickly realized by tilting the tray they could control the water direction and hence color and pattern of their pictures.


They were getting very pretty


And very wet!


Step 3

Once the paper was covered they brought the pictures inside to dry out. Now I think we will turn them into autumn leaves. I love a good rain day.