Wednesday, May 20, 2015

Oven Baked Plant Markers

I love spring and after a winter like the one we have just finished here in New England how can you not?  Long days outdoors, mud and planting, watching the garden come back from its long winters sleep and my kids enjoying every minute of their new freedom outdoors. With that though life gets extra busy with more sports activities and end of school year preparations. I am sure it's so that I can fully appreciate those long slow days of summer in all their glory. Anyway all this means my poor blog took a back seat for a while but as I start planning out all the fun things I want to try over the summer with the kids I'm hoping to stay focused on sharing it here with you all.


For now here is a really simple project my girls made; we actually sold them at a fundraiser we held recently in the barn. The fundraiser was for a charity started by a friend of mine, Jonahs Just Begun  heres a few pics, it was such a fun afternoon. The plant markers were so easy to make and look so pretty I thought it worth sharing.


You will need:

Oven bake clay (We used Sculpey do not use the air dry we did the first time and they dissolved in the rain leading to sad children)
Letter stamps (we picked up some in the print section of Michaels)
Rolling pin


Step 1

Take a piece of clay (we used about 1/2 of what is pictured here to make one marker). After playing with the clay a little to warm it up, roll it out into a sausage shape.


Step 2

Take the rolling pin and flatten the clay sausage to about a quarter of an inch.


Step 3

Think about what you are using your plant marker for and select the letters. We chose to make them for our herb garden but if you don't need plants marked you could even write one with expressions such as 'hope' or welcome greetings. It is a good idea plan the letters next to the marker before you stamp so you can work out spacing. You can turn letters sideways if needed. Longer words will need longer plant markers rolled out.


Once you have marked out the word, remember to leave space at the bottom for it to go into the soil, you can stamp the letters. Push hard enough to mark the clay but not too hard that you squish the marker too out of shape. Younger kids are more likely to push too soft or too hard and may need help to get it right. Remember if they mess up you can just roll it out again.


Step 4

Once you have written your word take a sharp knife and cut the bottom into a point to make it easy to stick into the soil. Then bake your clay per the instructions on the packet. Our sculpey clay took just fifteen minutes, it is hot when it comes out the oven so use a baking sheet and warn kids not to touch.


After it has cooled you can take it outside to your yard. So pretty and these make great gifts added to potted herb. 


Tuesday, April 14, 2015

Simple Seed Paper Flowers

These flowers encapsulate all my favorite things to do with kids in one project. There is a pretty art element, an environmental twist and some science as they watch the results grow. And just look at this beautiful bunch of flowers, who wouldn't want to receive the gift of a flower that can grow into a flower? Perfect. On top of all that its earth day this month so why not have your kids make these to give to someone for earth day?


This all started with me wanting to make seed paper with the kids at the Blue Barn. I was struggling with how time consuming it was to wait for the paper to dry out once created and I needed to have it ready for them to take home at the end of the 2 hour session. On the flip side I was looking into starting a children's garden in my community and in doing so stumbled across the idea of making seed paper on Pinterest using toilet paper, seeds and a flour paste to help with the spacing of seeds when going out to plant with young children. I thought to myself if I could make the seed paper look pretty then maybe we wouldn't have to wait for drying traditional seed paper.


The inspiration from the pretty part came from a project we made last year, Spring Flowers for this we used coffee filters and food coloring to create beautiful paper flowers.

You will need:

Coffee filters (2 per flower)
Food coloring - you could also use liquid watercolors for a more vibrant color
Seeds, we used sunflower and wild flower
Flour
Water
Craft stick
Pipe cleaner

Step 1

The first part of our process involved dyeing the coffee filter paper, this is such a fun activity by itself your kids will want to do more than one so have plenty of coffee filters available. You actually need 2 papers for each flower.

We mixed food coloring with water to create our colors and then used a pipette to transfer colors to the paper. You can also use liquid watercolors if you have them for an even more vibrant color, and if you have no pipette a teaspoon works as well (or use a teaspoon for younger children).


Once the paper is covered in color you need to hang it to dry. If you are trying to get this project done in one sitting you can dry the filter papers in your oven (set to around 175 F) it only takes around 5 minutes then.


Step 2

While the papers are drying you can mix up the paste. How much you need depends on how many flowers you intend to make. We used about 1 tablespoon of flour and added water to mix it to a smooth paste.


Step 3

Once your coffee filter is dry you can begin pasting on the seeds. We did this in 2 different ways. 

The first was to place dollops of the paste in a spiral starting in the center of the filter paper and working your way to the outside. This method is best used when you have seeds that need to be placed at certain  distances apart.


On top of each dollop paste we placed a sunflower seed.


The second way we tried was to paint a thin coating of the paste all over the filter paper, then sprinkle with seeds. We used this second method with the wild flower seeds as they were so tiny it was easier for the kids to sprinkle them like glitter. This way was easier for the younger kids but did require the paste to dry completely before you could cut the filter paper in the next stage.

Once you have added your seeds to the wet paste place the second sheet of filter paper on top of the first and leave to dry.


Step 4

Once you have the two sides together you can cut, a spiral starting from the outermost seed through to the center seed. For the purpose of this blog I drew the cutting marks onto one of the filters to show you. As mentioned previously if you painted the entire paper and sprinkled seeds you will have to wait for the paste to dry before you can cut the paper.


Once the paper is cut you will be left with a strip of flower paper ready to twist into a flower.


Step 5

Starting at the center of your coiled seed paper take a popsicle stick and begin to twirl the paper around the stick.


Keep working around until you reach the end and you should have a rose shaped flower on the top of your stick.


Secure the end in place with green pipe cleaner, twist around and form into a leaf shape. We wrote the seed type onto the flower stem, this can be placed into the garden when you plant the seeds to mark them.


How beautiful?


To plant these simple, unroll the flower and plant paper according to the seed packet instructions.



Tuesday, March 31, 2015

Spring Chicks


Ok so here is to hoping my blog has as much affect on the weather as it did back in late January. Back then we were doing snow dances and making all things winter in the hope of drawing snowfall from the sky; my kids desperate to test run their new sleds from Santa. 

Someone should have shouted 'NOOOO'. 

Since those fatal words were written we have had so much snow and old man winter is refusing to let go with every ounce of his being. So now here you find me seeking crocus and daffodils as we head towards Easter with snow still on the ground.

And in that mindset we set about making these awesomely colorful spring chicks. We made lots, some have had their own houses built while others simply get found hanging out around the house. Either way they are cute and colorful and worth a share.

These little guys were the brain child of my little guys. Hubby had taken my girls to a gymnastics meet (win for me because those things go on SO long) and I was left with Buba and D. They wanted to make a spring decoration and while delving through my craft supplies they came across the styrofoam balls. After flinging them at each others heads I managed to redirect them to the task at hand and we collected the rest of what we needed for some little chicks.

You will need:

Styrofoam ball
Yellow paint
Googley eyes
Glue
Orange pipe cleaners
wooden skewer or craft stick for younger children


Step 1

Take the styrofoam ball and push the skewer/stick into the bottom of them. Then paint the ball yellow. Holding the ball on a stick makes it easier to paint without touching it.


Step 2

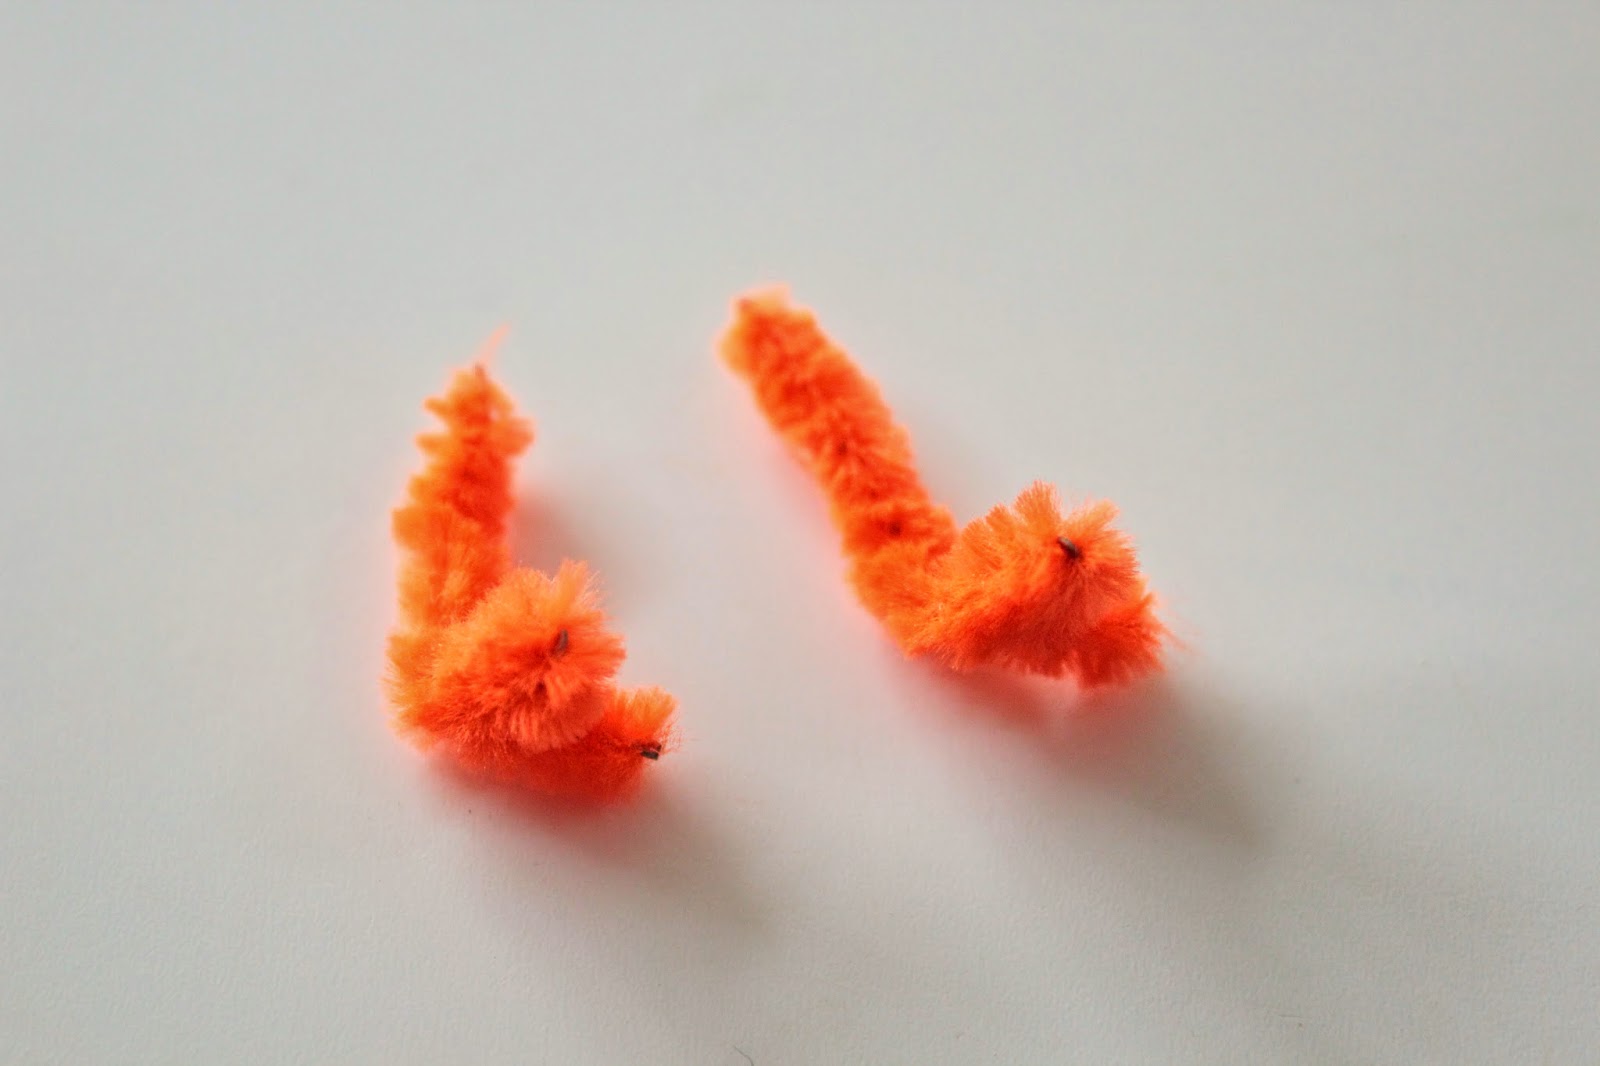
Glue on 2 googley eyes. Take the pipe cleaner and trim to shorter lengths and bend orange feet and a small beak for your chick. Push them into the styrofoam ball.


Step 3

Choose a bright feather and glue a tail onto the back of your chick.


Step 4

Your chick is now ready to hang out in a bunch of flowers.


Or if you want to make a home for your little chick, we tried two different ways. 

The first was the way my boys did it. We wrapped a box from the recycling bin in bright paper and then cut a hole in it big enough to allow the chick to 'fly' in and perch.


The second way was done at Blue Barn Camp by my 2nd graders. They cut a hole in the sheet of paper and simply stapled it into a tube shape. This fit perfectly on their little hands for the puppet to live in.


Either way were super bright and cheerful and will hopefully temp Spring from it's hiding place.