

Ever since I was little I have loved maps. I remember listening to my grandfather (who worked for a UK map maker) explain how they measure the peaks and gradients of hills, how they outline the coastline and plot on the roads. He taught me how to read a map to help me find my way. We would go out walking on the hills of Wales; he would show me trig points and let me use his compass to work out which way was north. Maps he said were photos of places you haven't been.
In our modern world where your smart phone or car GPS directs you to your destination we no longer have use for paper maps in the same way. We can sit in our living room and use Google earth to see satellite images of places we want to visit. I recently read an article that stated one skill today's babies will never learn is map reading because they have no need. After reading that we took a family hike with a paper trail map and a compass and I had my kids lead the way, they loved it.
Despite this modern world there is something still magical to me about a map and so when I came across the following book in a book store recently I was enchanted.

This book has quickly found its way to permanent fixture on our coffee table where kids and adults alike have sat and enjoyed looking through its beautiful illustrations and in turn my children are learning a little more about the world we live.
The book breaks the world down just as a real Atlas would by continents.

The countries of the various continents are then laid out in a very kid friendly manor with geographical interest points.

They also include the flag, population size and area alongside the countries name.
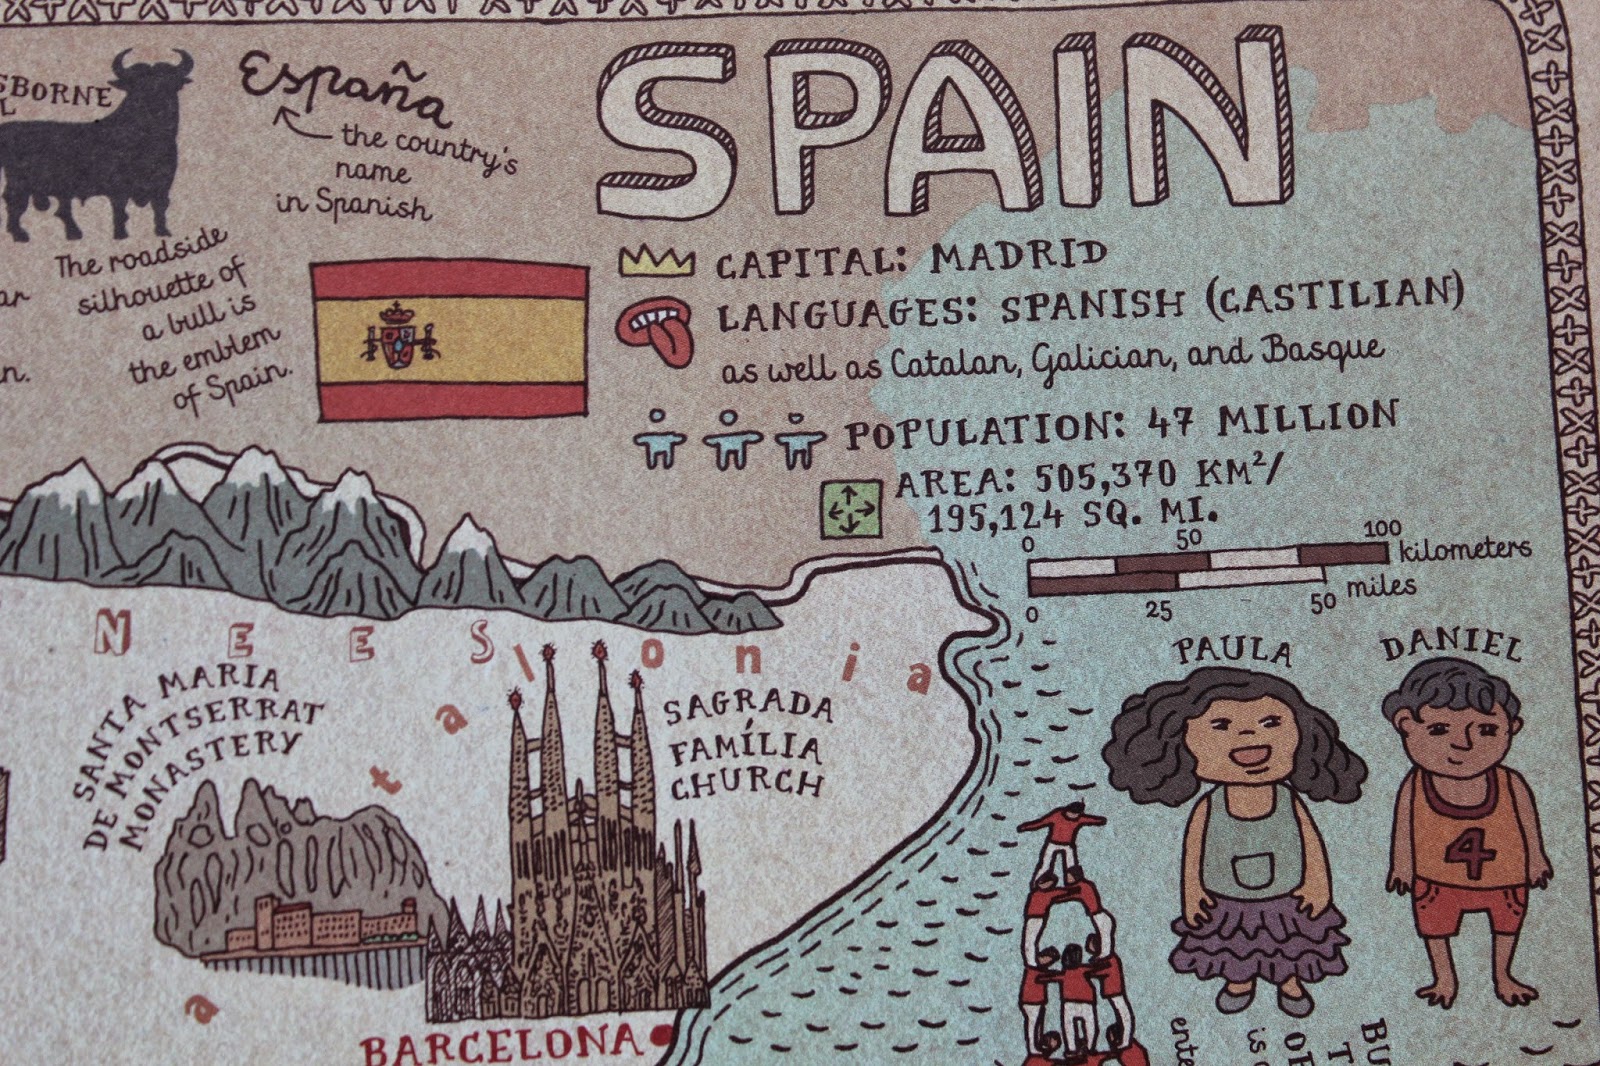
I think my favorite part is the animals, foods and native plants they highlight for each country.

After looking through this book again the other afternoon we decided that it would be fun to invent our own islands and create a map to show people what they would find there. We used a map template I had found here

You will need:
Plain paper or map print out
Pens
Teabag
Oven set to 170 F
Step 1
The children began by drawing out their islands, they all got so excited talking about what you would find.

We talked about mountains, rivers and caves. Then as they do in the Maps book we talked about who might live on their island, which creatures/people. What plant life? What might help us know if it has a cold or warm climate? How do you know what is water? Of course we ended up with trolls and transformers, cats and unicorns, pirates and fairies.
Then looking back at the Maps book I showed them how each country has its own flag so they began designing flags for their countries too.
Step 2
We had decided early on that these were going to be secret islands that they were only just discovering and so as such we decided to age our maps to make them look like they came from a time long past.
This step is really easy but needs an adults help.
We began by using an old tea bag to age the paper (if your coffee drinkers coffee grains will work too).

Step 3
Once your paper is covered in tea you can scrunch it into a ball to get creases in it. Then slowly flatten it out and place it in the warm oven on a shelf. For younger children an adult will need to help here.

Step 4
Once dry I gave the children the option of me burning the edges to age the maps more. This should be done over a sink by an adult. D didn't want me to burn his after he saw the others being done.

Once I had burnt the edges the kids removed any loose black pieces of paper from the edges.

Step 5
Our final maps,

Apart from how well the maps turned out I think my favorite part of the whole exercise was once they had finished. The maps themselves gave way to them all making up stories to go along with their Islands and then they spent the rest of the afternoon finding the maps and reenacting each others stories, what a creative way to spend a day.

No comments:
Post a Comment