

Are you all set for the holidays? We put our tree up this past weekend, its the usual mix match of kid made ornaments and Mummy's special ones that need to be placed high up on the best branches. Everything always is piled on in one area with kids putting multiple ornaments on a single branch, so I have to reorganize them all when the kids aren't looking. And then there is the argument as to who gets to do the fairy on the top, who did it last time, or the time before that - I never remember year on year do you? With 4 kids its impossible. In the end this year after a few tears and a bit of wrestling Daddy had to do it anyway because none of us could reach! With the tree up we thought we could make a few more of these awesome recycled chalk ornaments to fill in the gaps. I posted them on Instagram just after Thanksgiving and have had a few requests as to how I made them.
What I especially love about these is their environmentally conscious nature. In one aspect you are recycling old odds and ends of chalk pieces that would otherwise just end up getting thrown out.

Secondly you've created a unique pretty sparkly tree ornament which could make a nice gift for someone or gift topper.

Finally when you take the tree down after Christmas you can hand these pretty ornaments over to the kids and they can reuse them to draw with as chalk.

How awesome is that, a complete recycle!


So to make these you will need:
Plaster of Paris
The old odds and ends of chalks (I had to use a few new ones just for the pictures because I had used all my old chalk pieces up testing it out in the first run through!)
Glitter (optional but you an never have enough)
A disposable container and spoon
A cake or soap mold (These can normally be found in the baking supplies section of retailers)
Some ribbon

Step 1
Take your chalks, place them inside a bag and crush them up. We bashed them with a wooden rolling pin by far my kids favorite part of the entire process. The bag helps to contain the dust, if your doing this outside you could just do it on a board and skip the bag.

You want to leave some pieces of chalk larger, if you go to powdery the chalk dust just dyes the plaster of paris and your snowflakes will be all one color.

Step 2
Taking your cake or soap mold and divide the larger pieces of chalk amongst each mold, add some of the smaller dusty part too but keep a little to onside to add back at the end.

Step 3
Mix up your plaster of Paris as per the instructions, ours was 2 parts plaster of paris for 1 part of water. We used approximately a cups worth of the plaster of paris and a little over a half cup of water because I wanted the plaster of paris to pour easily around the chalk pieces.
DO NOT WASH ANY OF THIS DOWN YOUR SINK IT WILL BLOCK. This is why we used disposable containers to mix it in.

Don't let the plaster sit in the container you mixed it in because it will begin to 'cure' immediately. If your adding glitter stir it into the plaster of paris mixture now. Once you've stirred in the glitter pour the mixture into the mold over the chalk pieces. Tap the mold gently to encourage any air pockets to float up and burst at the surface.

Step 4
Once all the molds are poured sprinkle any remaining chalk dust over the told to the molds. At this point we also cut short pieces of ribbon and pushed the two loose ends into the plaster. We did this so that after the plaster is hardened we could hang our snowflakes on the tree. If you are not hanging your snowflakes this is of course totally optional.

Leave the snowflakes to harden. Plaster of paris 'cures' as opposed to dries overtime. We were able to pop our snowflakes out of the molds after about 20 minutes because they were firm enough, however, we left them on the side for another 12 hours before the felt properly dry to touch.

These are so pretty hanging on our tree, we added the glitter so they sparkle in the tree lights beautifully

And when your all done with using it as a tree decoration head outside and reuse them as sidewalk chalk.
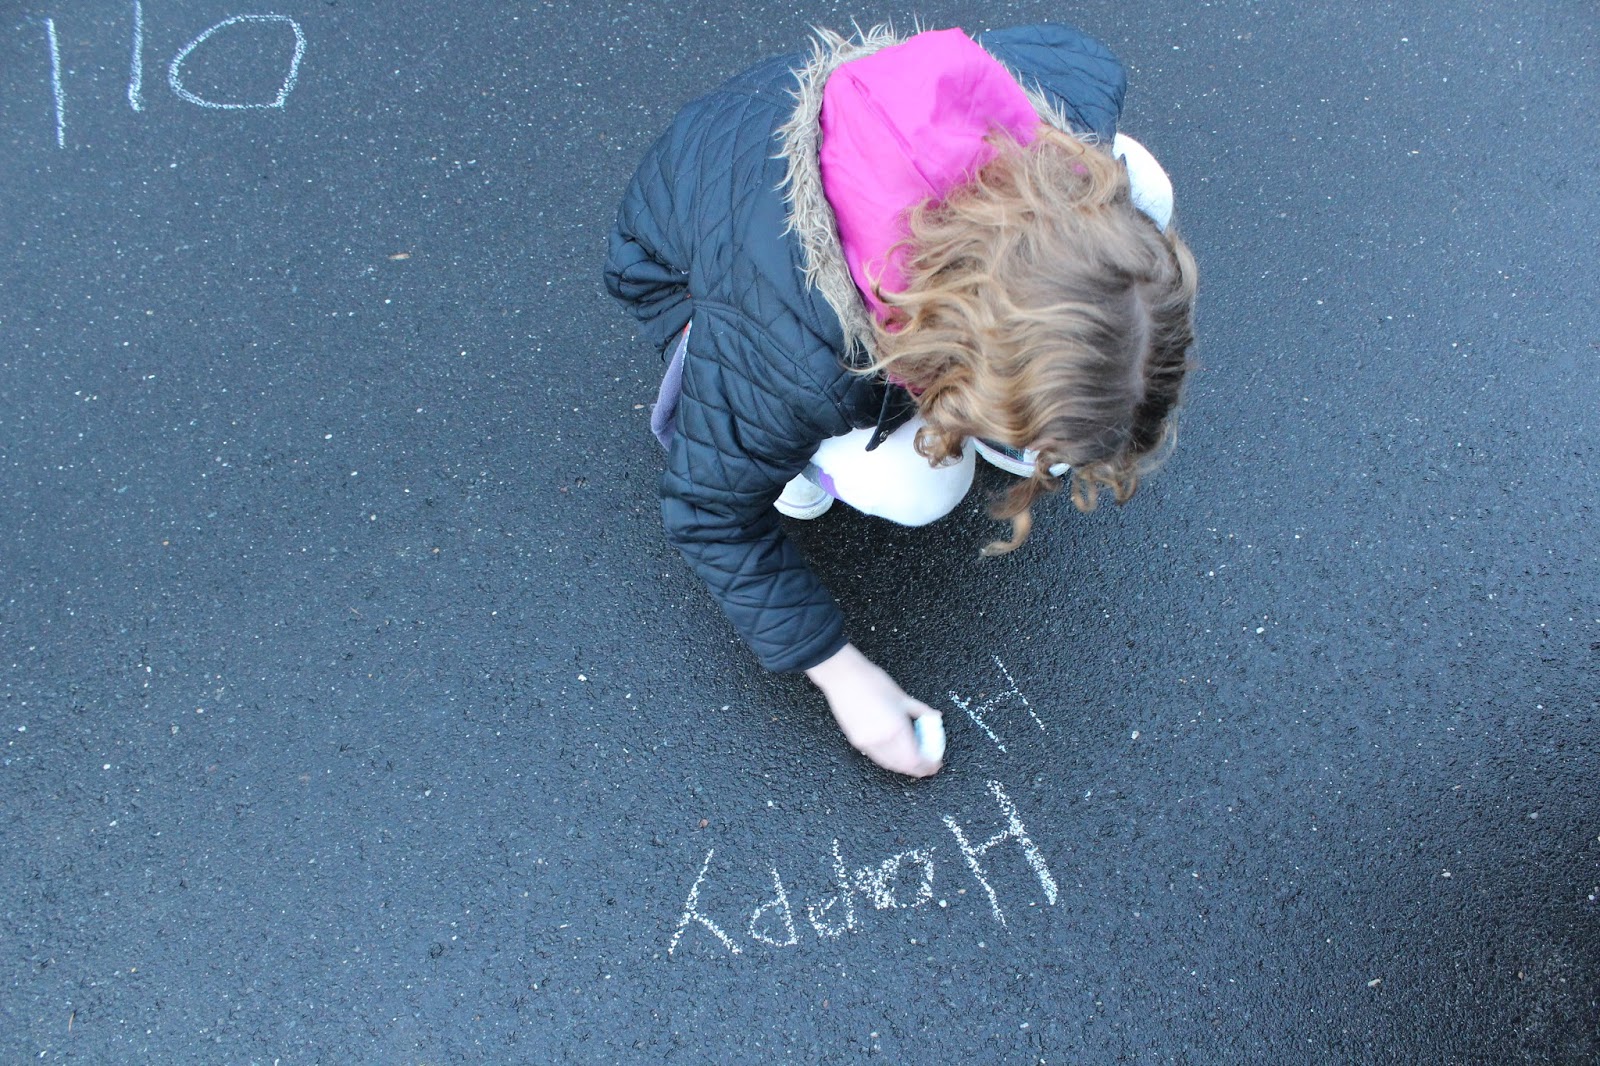


Wishing you a recycled Happy Holidays

Great tutorial!
ReplyDeleteThanks so much, not sure how I missed this in December but thank you xxx
Delete